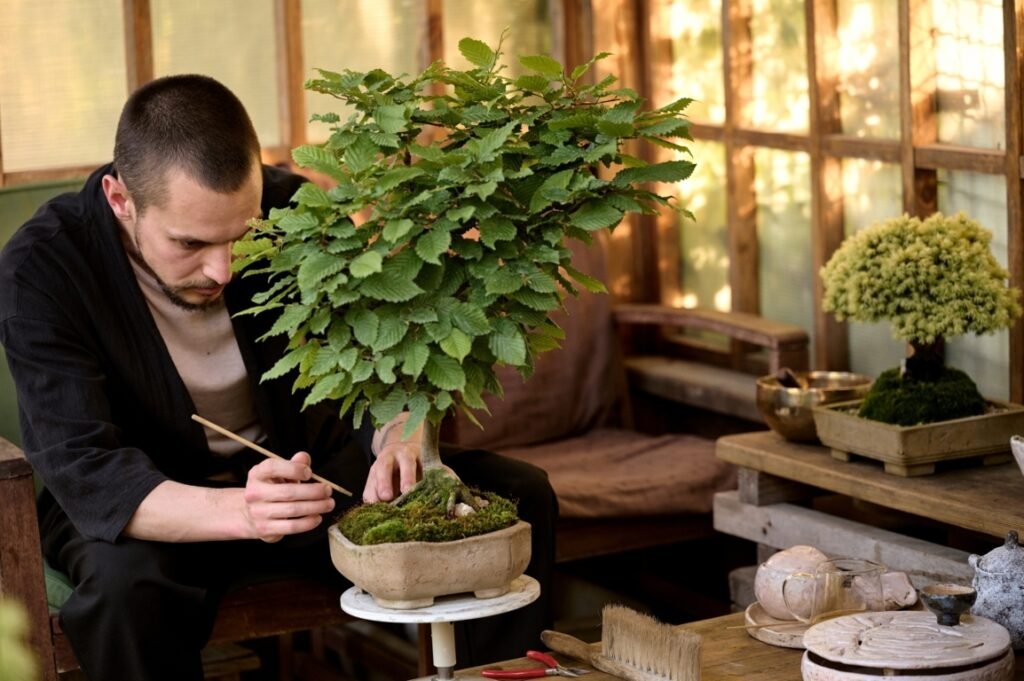
Have you ever wondered how to trim a bonsai tree? Maybe you’ve received one as a gift or bought it for yourself, and now you’re unsure how to trim it. Pruning bonsai is an essential part of keeping them looking up to shape and making sure that they are healthy.
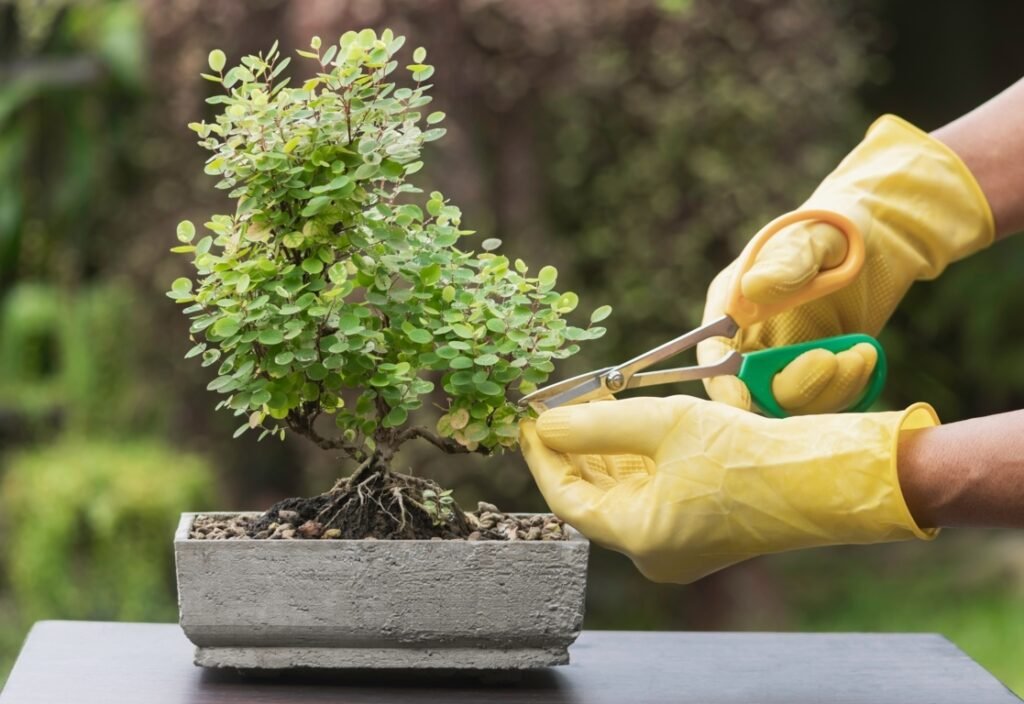
By pruning a bonsai tree, you are encouraging new growth while also helping keep the tree’s general shape. Sometimes, ugly features can appear on bonsai, such as crossing branches or branches that have weakened over time, which you should eventually eliminate if they don’t benefit the tree’s appearance.
In this article, I’ll detail how to trim a bonsai tree for the first time properly, making sure that it survives after you give it that much-needed haircut!
Pruning
To prune a bonsai tree, you must first ensure that you have the appropriate tools. Any tools you use should be clean and sharp, ensuring that all of your cuts are clean and there’s no risk of infection.
Open wounds can let diseases in, which can harm your tree, and they may also weaken the tree, which could encourage pests to infest.
I wouldn’t recommend pruning your tree more than three or four times a year, as you should sometimes let your trees go wild with growth to ensure they’re healthy and have enough energy to survive the winter. More developed and established trees can handle this regular type of pruning, and many people do it to display them at shows.
Tools
There are specific tools for pruning bonsai, and there are quite a few. Some examples include knob cutters, branch cutters, pruning scissors, bud scissors, and many more. These all have different uses and can help you prune different parts of the tree.
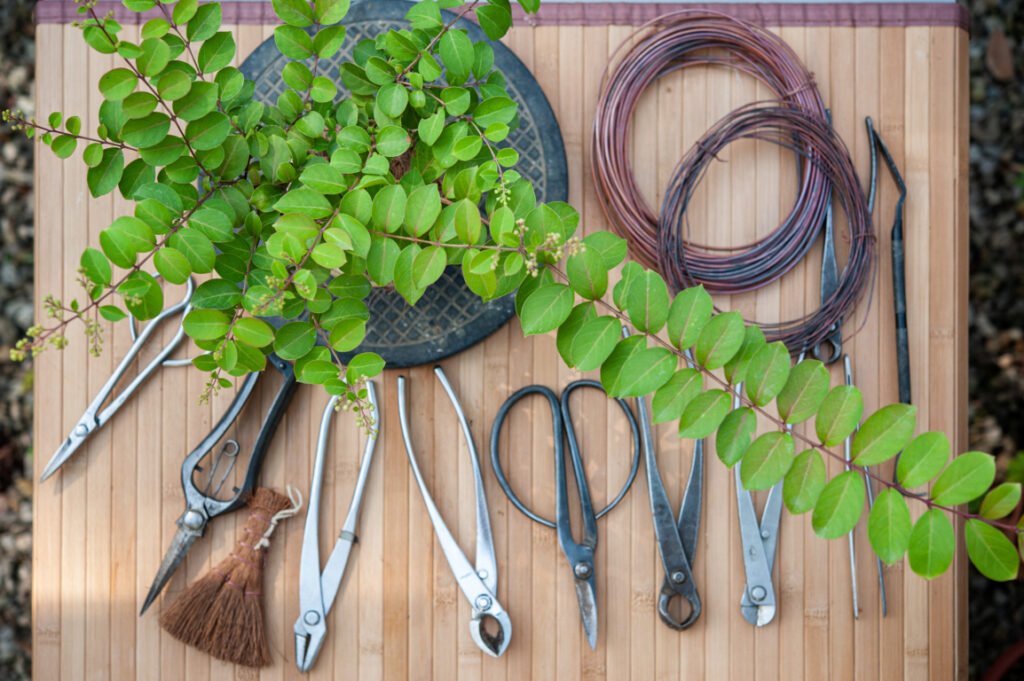
Above is my own bonsai tools. I have tools such as branch cutters, knob cutters, wire, scissors, wire cutters, and much more. I would definitely recommend getting a case to carry around tools in so that they’re not loose everywhere!
Most tools come in either stainless or carbon steel, both of which have advantages and disadvantages. Stainless steel is much more expensive than carbon steel, but it’s a lot more durable and sharp than carbon steel. Carbon steel is quite a bit cheaper than stainless steel, but I’ve found that it performs pretty well anyway. I use carbon steel tools myself.
If you have bought a tool, you should make sure that you are always looking after it to prevent rust, which will damage the tool over time. I like to give a general cleaning of my tools over the winter specifically. Camellia oil is perfect for your tools, and you can find it relatively cheap on the internet.
The Right Time
It would be best if you pruned at the right time of year. Otherwise, pruning can stunt growth on your trees or not give them enough time to recover before the cold hits.
The right time will depend on the tree – maples prefer to be pruned from November to January as this prevents them from bleeding sap, which can kill a branch or the tree if left unattended. Species such as junipers prefer being pruned in spring. However, most outdoor trees can be pruned throughout the growing season. Indoor bonsai can be pruned throughout the year.
Below is a table of species and the time at which you should prune them.
| Alder | Late Spring to Summer |
| Apple | Mid Winter |
| Ash | Late Spring to Summer |
| Beech | Late Spring to Summer |
| Birch | Summer or Mid Winter |
| Cherry | Summer |
| Elm | Late Spring to Summer |
| Hornbeam | Late Spring to Summer |
| Oak | Late Spring to Summer |
| Mulberry | Mid Winter |
| Spruce | Late Summer or Late Winter |
| Pines | Late Spring |
If you have removed a particularly large branch, you should cover it with some cut paste. The cut paste is a sealant that will prevent harmful pathogens from getting into the tree and also help to prevent scars on the tree when it heals. You can find cut paste on the internet at a price. However, there are some cheaper alternatives.
I like to use brands such as Kiyonal; you might find a different one that you like or that might be cheaper.
Apical and Basal Dominance
Depending on the tree, some can exhibit apical or basal dominance. Apical dominance is where the tree favours the main stem of the plant instead of the side shoots, encouraging it to become more dominant over the side branches. In nature, this promotes trees to get as tall as possible, meaning they can outcompete other trees to ensure they get the most sunlight to drive photosynthesis.
Basal dominance is the opposite of this. Basally dominant plants such as the Satsuki azalea will put more growth at the bottom of the tree as opposed to the apex, which means that you should prune them a lot harder at the base of the tree compared to the apex. This goes against the standard horticultural practices, but it is essential in developing this kind of bonsai tree.
Examples of apically dominant trees include species such as maple, elm, oak, and most conifer. Therefore, you should address your pruning habit on each of these trees and ensure that you are pruning the apex harder than you are pruning the base of the tree.
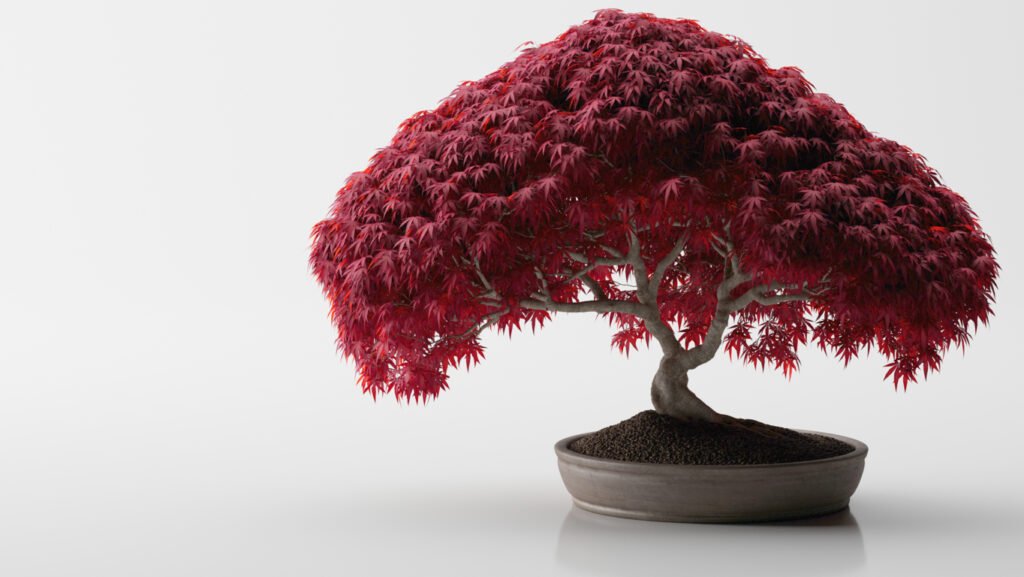
By learning the natural growth patterns of your trees, you can better understand how to prune them and discover which ways they can be styled. Some trees lean towards certain styles, while others refuse to stay. The species Cotoneaster horizontalis likes to adapt in a cascading manner, and I play into this by wiring it into a cascade style and pruning it appropriately.
You can take many different styles with bonsai, such as formal upright, informal upright, windswept, slanted, semi-cascade, cascade, and a lot more. You have to practice with these styles and best learn how to apply them to different species.
Technique
It can be hard to learn the correct technique at first, but it gets much easier over time. Deciduous trees can be pruned back to around 2 or 3 buds per branch which I usually do. However, conifers such as pines and junipers should be pinched back by hand instead of using scissors. If you use scissors for conifers, it can lead to browning of the foliage.
To pinch a conifer, you should hold the tip of the shoot between your thumb and index finger, carefully pulling it away. This will snap the shoot at the weakest point.
Defoliation is also another technique used for bonsai. This is where you remove all of the foliage or some of it, mainly used on deciduous trees, forcing it to grow new leaves. Defoliation is used to reduce the size of tree leaves while also helping to work on the ramification of the tree.
There are two types of pruning – maintenance pruning and structural pruning. Maintenance pruning is used to keep the tree’s shape and remove branches or shoots that have outgrown the designed canopy shape. Structural pruning is more extreme, removing larger branches than maintenance pruning. It usually changes the tree’s aesthetic in one session of structural pruning.
Styles
As I’ve mentioned above, there are many styles of bonsai. These include formal upright, informal upright, slanted, windswept, cascade, semi-cascade, and more. Other trees will lean themselves to different styles, and you should use this knowledge when working on your trees.
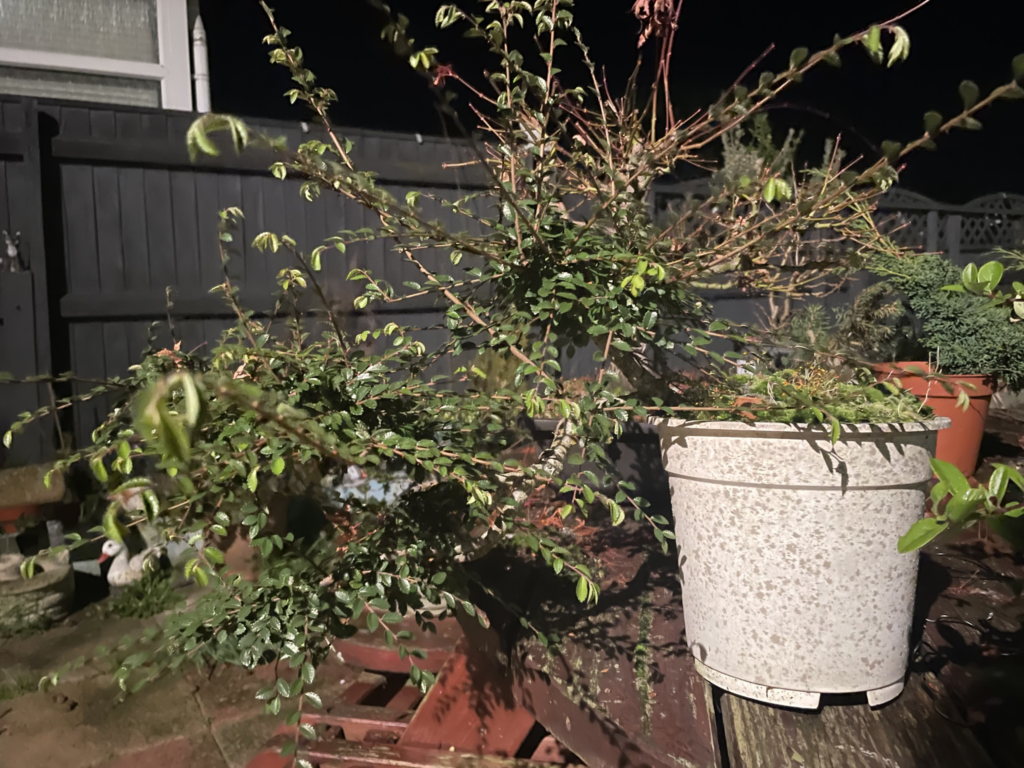
Pictured above is a Chinese elm which is due for a good pruning sometime soon! You can make out the cascade style, however, there is quite a lot of foliage blocking the view. This is a good example of why you should keep your trees neat and tidy to show off the trunk line.
Depending on the style, you may work on the tree differently. For example, if you have a tree that is styled as a formal upright, you usually style the branches so that they are pretty flat and horizontal to the trunk in a pad shape. While if you have a tree styled as windswept, you may opt for more twists and bends in your branches and trunk, giving it a more authentic look.
Aftercare
After you have finished pruning your bonsai, it is vital to ensure that it gets the correct aftercare. If you don’t look after it properly after a significant prune, it can suffer and possibly die. Aftercare for pruning is not as important as after repotting. However, it is still quite vital to your tree’s health.
Once I’ve finished pruning my tree, I usually give it a thorough watering to help it regain any water it may have lost from the pruning of branches or shoots. If I’ve done any major pruning and taken off a large branch, I apply cut paste to the wound to seal it from moisture and disease getting in. These can both be quite bad for the wound and prevent it from healing, which could leave quite an ugly scar.
Repotting
A lot of people will overlook the task of repotting during pruning. However, it can be pretty valuable to repot your tree and prune it at the same time.
By taking your tree out of its pot, you will get a better look at the tree, such as its trunk, lower branches, and nebari (root spread). This will help you make better decisions based on what you want the tree to look like.
When repotting, you should remove some of the root mass – especially if the tree is very rootbound. Pruning at the same time while doing this will help reduce the water demand on the roots as there is less foliage, which allows the tree to recover.
While repotting, you can also apply wire. I’ve found that using wire during repotting is valuable, as you can work the tree a lot better and avoid awkward angles due to the pot being there. I’ve found this especially valuable with seedlings or cuttings, which need only a tiny bit of wire to be applied to them very low down in the soil.
Wiring
If you are going to apply wire, make sure that you apply it at a 45-degree angle to get the most out of it. Don’t apply it too tight, but don’t apply it too weakly. Make sure that what you are wiring bends and will stay in place – if it’s not, then consider using a higher gauge of wire. You can also double-coil it by adding another piece of wire next to the one you’ve already applied.
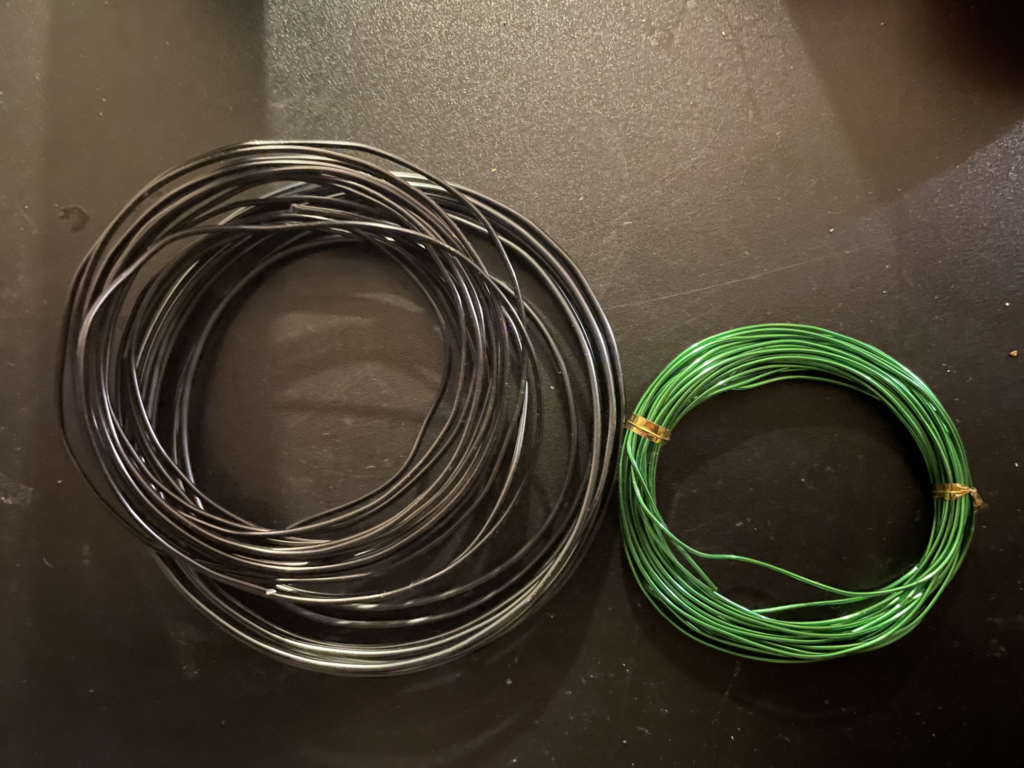
Pictured above is the wire that I use. The one on the left is a thicker gauge (2mm I believe) compared to the one on the right which is 1mm. For the 2mm gauge wire, I would use it on older trees or hold thicker branches in place, while I would use the 1mm gauge wire for seedlings or cuttings. It doesn’t really matter what the colour is, it’s more about if it blends in with the tree or not. This type of wire is annealed aluminum wire, which is a lot cheaper than copper wire and easier to work with.
Make sure you never cross the wire, as this can restrict water movement in the tree and lead to it killing off branches. Another tip for wiring is to never leave it for too long. If you leave it for too long, the wire will begin to bite into the bark and leave wire scars. This is especially prevalent in the growing season, so I always make sure that I check if the wire’s biting in every few weeks.
When removing the wire, use wire cutters instead of uncoiling it. If you try and uncoil it with your hands, it can damage the bark, and the branch could snap, which would remove all of your effort put into that branch! Instead, use wire cutters and cut at the same point along the wire, which should make the wire fall off easily. If not, you can uncoil it slightly, and it should fall right off.
Do You Know How to Trim a Bonsai Tree Now?
If you don’t, I would recommend going over the article again! The critical information to take away from this article is that you should prune back to 2 or 3 buds, make sure you give the tree the proper aftercare, use the right tools and be careful about how much you take off. Although, there’s a lot more detail that you might be missing! Research the specific needs of your tree, and you will be able to take care of it much better than what I can say in this article.
I recommend joining a bonsai forum or even a local bonsai club. They’re full of knowledge, and you might even get some bonsai trees cheaper than at bonsai nurseries. How great!


