Have you ever heard of using copper nails to kill trees? It’s a method that some people suggest can be used as an alternative to expensive tree removal services. But is this really effective, or just another urban myth?
Keep on reading if you want to know how you can kill a tree with a copper nail!
First Up, Can Copper Nails Kill Trees?

The answer to this question, unfortunately, is yes. Copper nails can kill trees!
Trees require oxygen and moisture to survive and thrive, but copper nails can block these essential elements from being able to reach the tree’s roots.
When a copper nail is driven into the trunk of the tree, it creates an airtight seal around the nail and won’t allow oxygen or moisture to get to the roots.
Over time this will cause the tree to die from lack of nourishment.
It’s also important to note that copper nails should never be left in trees for any extended period of time, not just because they can kill them but also because they can be a hazard to anyone or anything that comes into contact with the nail.
If you are going to use copper nails, make sure they are used correctly, otherwise, you could be doing more harm than good.
So, How Exactly Do Copper Nails Kill Trees?
Copper nails don’t just make a tree fall dead in minutes. There’s a whole process behind it.
Once the nails are in place, oxidation occurs, and copper sulfate is released into the tree.
This toxic substance will spread through the tree until it reaches the leaves, where it blocks chlorophyll from absorbing necessary nutrients from sunlight.
On top of all that, the roots may be exposed to direct physical damage as well as copper toxicity when the nails are placed at the base of the tree.
Due to its damaging effects, copper sulfate is highly toxic and can affect humans if they come in contact with it in its pure form. Because of that, it is important to take precautionary measures when working with copper nails. If it’s strong enough to kill a tree, it’s strong enough to cause damage to you too!
How to Kill a Tree With a Copper Nail

Now that you know the basics and the science behind how you can kill a tree with a copper nail, let’s go over the complete method of how it’s all done!
Step one: Start at the Base
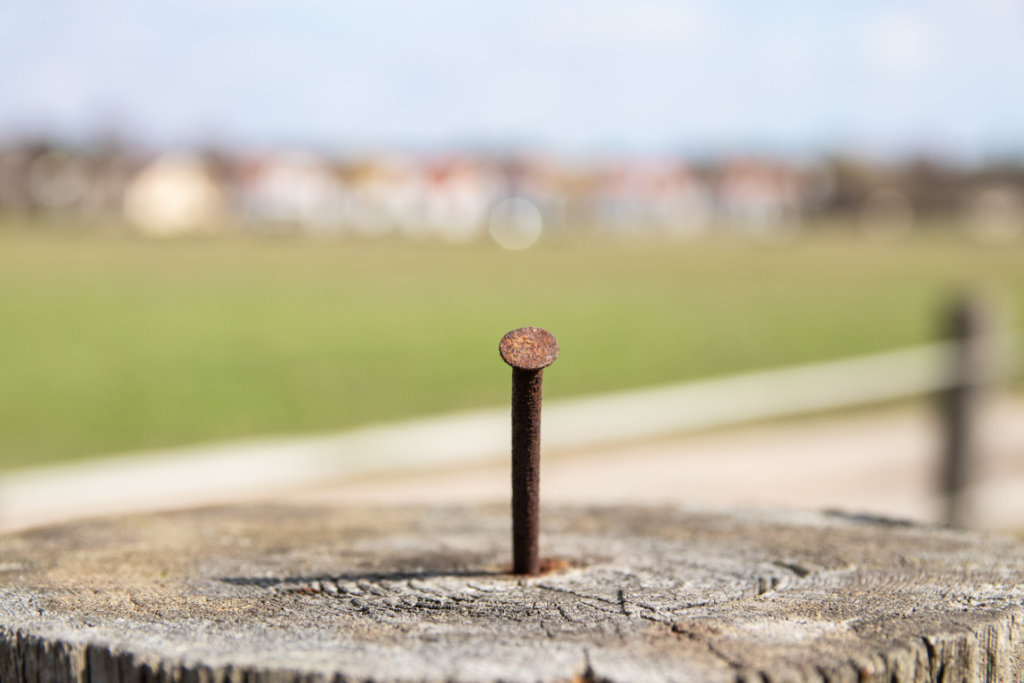
If you want to use copper nails to kill a tree, the best approach is to hammer them into the tree near the base. The larger the nail, both in terms of diameter and length, the more effective your treatment will be. This is because it helps to get the nails deeper into the roots and causes more damage.
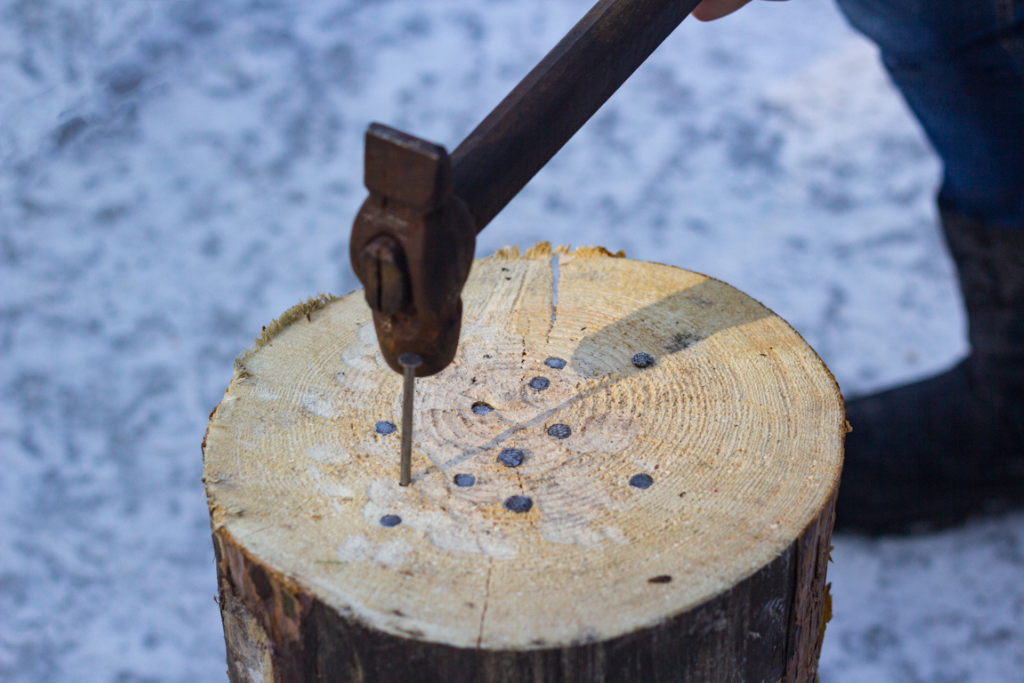
For smaller trees that have already been cut down, you can drive the nails vertically into the remaining tree stump. This works by preventing any new shoots or suckers from emerging and growing faster than expected. To maximize the effect of this technique, be sure to hammer the full length of the nails into the stump.
It’s important to note that the effectiveness of using copper nails to kill a tree can depend on the species, age, and size of the tree. When you hammer them in, make sure they penetrate deep into the trunk or stump so that all parts of it become exposed to the metal. For trees with thick trunks, you may need multiple nails, but the process stays the same.
Step two: Create a Ring
Once you’ve placed your initial copper nail into the tree, it’s time to continue adding nails to form a ring around the bark. Place each nail at a distance of half an inch apart, counting them as you go so that you can keep track of how many are in place.
Creating this full circle of nails is especially important for larger trees. It ensures a full layer of consistent damage that is bolstered by the copper content in each nail. This is key, as using the nails effectively to kill a tree requires maximizing their copper-laden effectiveness.
In addition to providing this full circle of nails around the bottom ring of the trunk, you can also place them around different rings to ensure optimal damage. When choosing where to place them, try to target areas with thinner bark that may be more susceptible to the copper’s effects.
When nailing in each nail, make sure you strike it with enough force to penetrate the bark and embed it into the tree. While it won’t take a lot of force, it’s important to ensure the proper placement of each nail.
Keep in mind that the number of nails you use will depend on how big the tree is and how much damage you want to inflict. If you’re aiming for maximum destruction, adding a few extra nails won’t hurt and can help accelerate the death process.
Step three: Wait it out
Now that you’ve added the nails to the tree stump, it’s time to wait. The amount of time it will take for the tree to die off can differ greatly, taking anywhere from one month to six months before you can be sure that your efforts have been successful.
It’s important to keep a close eye on the stump and new growth during this waiting period, so make sure you are monitoring it for the first month.
You want to make sure no new, strong-looking shoots come out of the stump during this time, as that could mean your tree isn’t completely dead yet.
Not only should you be watching for new growth, but also continue trimming any such growth that appears in order to prevent the tree from regrowing.
Once you get to the end of a month and still don’t see any new growth, then it’s likely that your tree has been successfully killed off, and you can move on to the next step!
Step four: Get everything out
Removing the nails is important as leaving them in can create a risk of copper sulfate damaging your surrounding plants.
Depending on where you’ve planted the nails, you may also want to consider wearing gloves and protective goggles as a precaution.
Digging out the stump can be more challenging than removing the nails. The easiest way to do this is by using an ax or spade.
Start by slicing away at any remaining exposed roots until all that’s left of your tree is a stump.
Once the roots are gone, dig out the stump using your spade. Make sure to go deep enough that all the remaining woody material is removed too.
If you’d rather not dig out the stump or don’t have room for it in your garden, you can also leave it in place and let it decompose naturally.
This is still okay – copper sulfate won’t adversely affect surrounding plants once the stump is rotten and doesn’t pose a risk.
By following this four-step process, you can use copper nails to kill a tree safely and easily. Stay patient and consistent with your approach, and you’ll soon be able to get rid of any unwanted trees in your garden.
How Long Does it Take to Kill a Tree with Copper Nails?
It’s possible to kill a tree with a copper nail, but how long it’ll end up taking depends on several factors.
The size and health of the tree prior to applying the nails will determine how long it takes for the tree to die.
Small or unhealthy trees can take 4-8 weeks before they start showing signs of decay, while larger trees or those located in drier climates can take up to 6 months.
During this time, copper ions are slowly seeping into the tree, disrupting its sap flow and blocking nutrient absorption. This will eventually cause the leaves to turn brown and wilt as the tree starts to die from within. If you’re patient enough, you’ll see the tree completely die off.
Keeping that in mind, it’s important to note that this method of tree-killing can be unpredictable and may not work at all.
Smaller trees might take a shorter amount of time to die, whereas larger ones may never fully die. Plus, the nails must be placed deep into the trunk so that they can come into direct contact with the tree’s vascular system. If you don’t get it deep enough, the process won’t have any effect.
Overall, using a copper nail to kill a tree is not an exact science – there are simply too many variables to consider.
It might take some trial and error to determine how long it will take for the tree to die, but considering it’s a pretty easy process overall, it’s worth it to give it a shot anyway before trying other, more labor-intensive processes!
Is it Safe to Kill a Tree with Copper Nails?
Although copper sulfate is not an immediate health risk to humans when it comes into contact with the skin, ingestion of concentrated dosages can present toxicity and health risk. As such, if you are planning to use copper nails to kill a tree, take precautions, especially if there are any young children in the vicinity who may come into contact with the area.
Make sure to keep them away from the tree and its immediate surroundings.
Furthermore, copper sulfate can act as an irritant if it comes into contact with your eyes.
Therefore, we recommend that you wear safety goggles while handling copper nails or any other related materials. This will ensure that no copper sulfate residue is accidentally blown into the air and into your eyes.
It is also important to remember that copper sulfate can be retained within the structure of a tree stump, so make sure to keep any surrounding plants or wildlife away from it as much as possible.
The copper sulfate residue can linger for some time, and if ingested by animals, it could potentially be fatal.
Lastly, although copper sulfate is not a health risk to humans when it comes into contact with the skin, do keep in mind that concentrated doses of copper sulfate can be highly toxic if ingested.
Therefore, make sure to always use gloves and proper protective gear when handling copper nails or any other related materials.
This way, you can keep yourself, your family, and the environment safe.
Read another way: Killing tree stumps with bleach.
The Bottom Line
Copper nails can be used to kill trees, but how effective they are depends on the size of the tree and how hard it is to get nails into the trunk.
It takes several months or even years for a tree to be killed by copper nails, so take your time and plan accordingly before trying this method. But if you’re going to give it a shot, just go over the points we’ve mentioned and you’ll be all set to kill a tree with copper nails!


