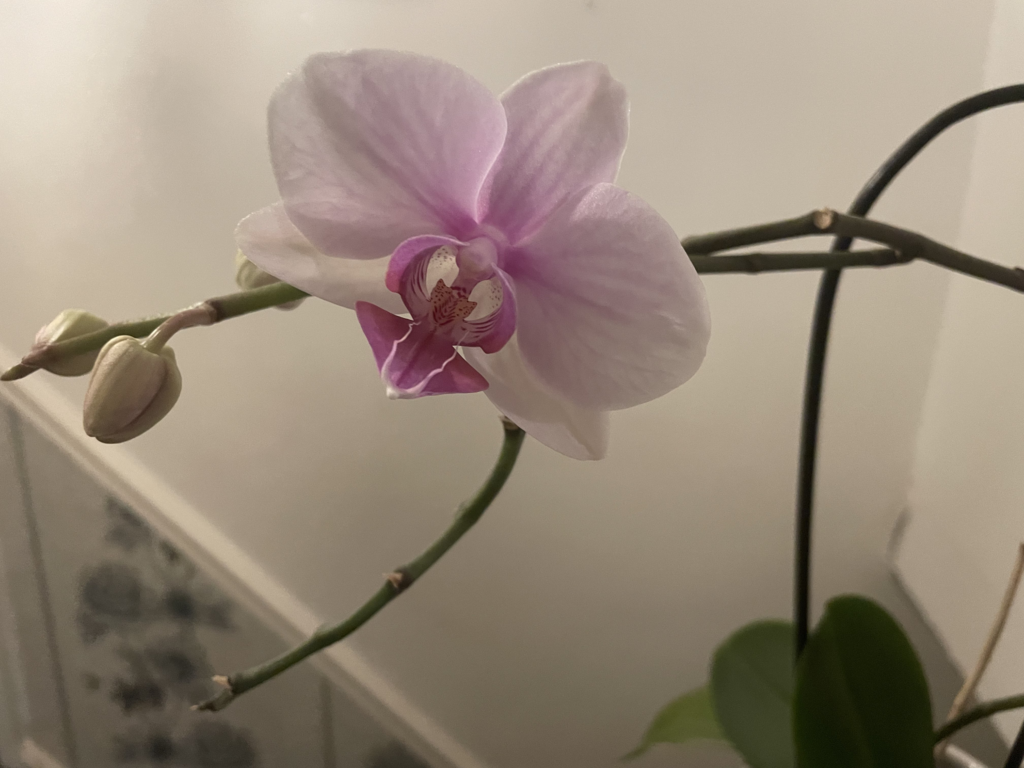
Even though orchid blooms may sometimes be minimal, they’re still striking when they open. Producing a range of white to pink flowers, they are an absolute staple in most people’s houses. Under stress, orchids can suffer quite quickly and, unfortunately, lead to the death of the plant. In this article, I’ll tell you how to revive an orchid plant, making sure these blooms last ages!

By recognizing the signs of death in your orchid, you can luckily try and prevent it before it happens. Orchids can be revived as long as they haven’t gone too far, and in this article, I’ll detail how you can do so.
How To Revive An Orchid
Tip 1) Keep the soil moist, not soggy!
This tip also applies to essentially every plant cultivated – when watering; you should make sure that your orchid’s soil is kept moist, not soggy. If we water orchids too thoroughly, this will prevent oxygen from reaching the roots, destroying the roots and eventually leading to the death of the plant.
If you find that your orchid seems to be suffering from this problem, there are two options depending on how long it has been suffering. If you’re just starting to notice signs, you should be able to revive the orchid by simply adjusting your watering schedule. You should only water the soil when it starts to dry out slightly instead of sticking to a strict watering regime.
Though, if you notice that your orchid has been suffering for a while, you might have to repot it. This will help the roots to dry out faster, allowing you to revive an orchid.

Repotting
Hopefully, you won’t have to – but if you do, repotting is essential when trying to revive an orchid. It would be best if you started by gently loosening the plant out of the pot, trying not to disturb the roots. Using your fingers, you can slightly loosen the orchid’s roots to remove any soggy soil from the roots.
Any roots that feel mushy or soggy to touch should be trimmed back. This will help to encourage healthy roots to form. When deciding on another pot for your orchid, you should ensure it’s suitable. Choose one with multiple drainage holes so that the water drains properly. You should also ensure you’re not overpotting the orchid – this is where we give the plant too big of a pot. The roots will become damaged over time due to the weight of the soil, so you must find a pot that fits the roots of the orchid.
Tip 2) Prune the stems back.
As with other plants, pruning is a great thing to do. It can encourage new growth and branching on some plants and should be regularly done for some species. With dying orchids, it can be a good idea to prune back the stems which are not flowering. Use sharp and sterilized cutters such as scissors to ensure that it’s a clean cut and that no harmful bacteria can get into the wound.
Read on: Why is my orchid drying?
Tip 3) Replace the soil of the orchid.
Over the years, the soil that you initially pot the orchid in will become impermeable and not suitable for the orchid. We need to replenish the soil of the orchid every few years, ensuring that it has enough nutrients to survive. Without good soil and nutrients, you’ll find that your orchid is less likely to bloom and may not put out as much growth.
This should be done around every year, making sure that you use suitable potting soil for your orchid. If you have an epiphytic tropical orchid, it’s essential to use a specialized mix for them. Otherwise, they won’t be able to survive very long.
Tip 4) Make sure the orchid gets enough light.
Light is the driving factor in photosynthesis, and without it, essentially every plant will suffer. Orchids must get enough light. Otherwise, they won’t be able to produce energy and will eventually die. For houseplants, this seems to be quite a common problem. We can mitigate this issue by simply placing the plant on a south-facing window, which should hopefully get enough light.

If you live somewhere that does not have a south-facing window or does not receive enough light, it might be worth investing in growing lights. These will provide your orchid with enough light to keep on growing. However, the initial setup cost and running costs may put off a lot of people.
Tip 5) Feed, feed, feed!
I can’t stress this enough – fertilizing plants is an absolute must when they are kept in pots. Newly repotted plants can usually be left alone for a few weeks or months due to the soil’s nutrients, but those that have not been repotted for a while need fertilizer. You can apply this every week, ensuring that you use a balanced fertilizer.
Fertilizers have NPK (Nitrogen, Phosphorous, Potassium) ratios which are very important when choosing plant food. Nitrogen will drive growth in the orchid; phosphorus will promote the blooms of flowers, and potassium assists in the general transport of water and nutrients around the orchid.
When buying plant feed for your orchid, you should ensure that the ratios are balanced and that there isn’t too much of one nutrient. This can harm the plant by burning the roots, so make sure that you read those ratios!
Tip 6) Humidity
Although we might hate it, humidity is an essential factor for the growth and survival of plants. Giving our plants high-humidity environments will usually put on a lot more growth and thrive. This is the same with orchids; we should provide them with humid environments. However, too much humidity can also be a problem for the orchid too.
To increase the humidity around the orchid, you can use a humidity tray. This is usually a tray full of a medium with a bit of water added, so the water evaporates and creates a humid environment around the plant. These can be found relatively cheap at garden centres or online, so it’s well worth the investment!
Closing Advice
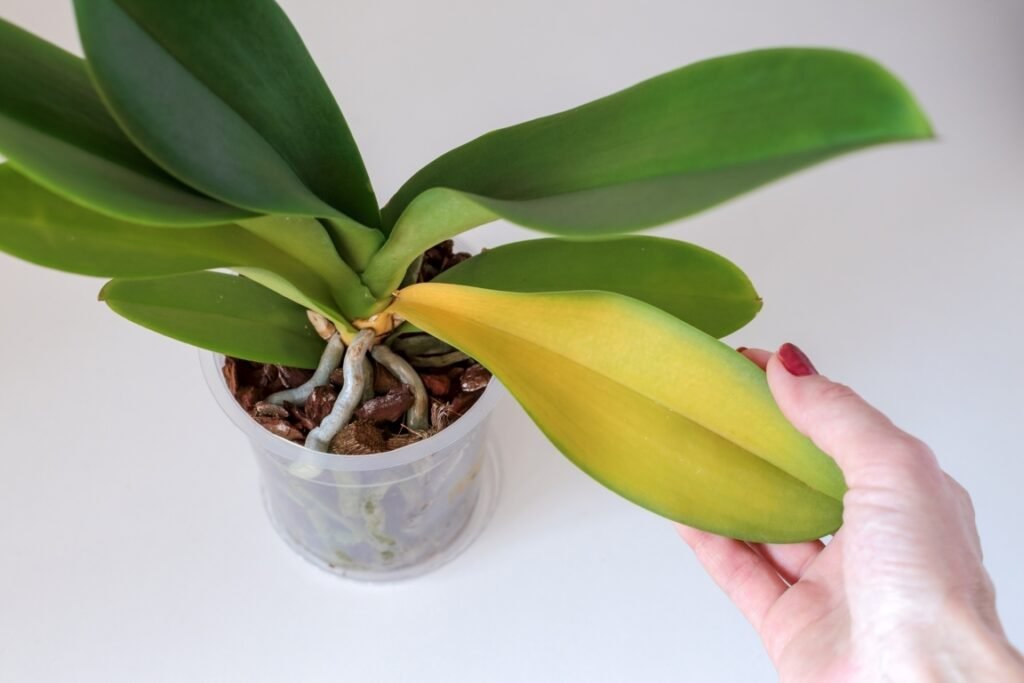
To sum it up, you’ll likely be able to revive your orchid, as long as it hasn’t gone too far towards death. Some warning signs to look out for include the yellowing and wrinkling of the leaves. Other symptoms can include the rotting of the crown of the orchid or the failure of buds.
As long as you follow the steps listed above, you should be able to revive your orchid! It’s always a shame to lose a good plant, but if you fail, don’t give up just yet. I’ve gone through a few plants in my life, and it’s a valuable experience for your next one.
Frequently Asked Questions (FAQ)
What soil should I use for my orchids?
A good majority of orchids can grow well in substrates such as sphagnum moss, perlite, lava rock, peat moss or more. You can combine these as well. Researching online is also an excellent alternative to finding the right mix for your specific orchid, as many growers will have an ideal blend suited for most different types.
Can I propagate orchids?
Of course! While it might not be as easy as other species of plants, orchids can still be propagated. It’s hard to grow them from seed since they don’t contain nutritional storage tissues – in nature, they are dispersed in millions to find specific fungi which can penetrate the orchid’s roots to convert the nutrients stored into a form which the orchid can use. You can still propagate them from seed. However, they must be sown in a mix containing nutrients. This can take a few months, though, and it may take years to produce a bloom. If you’d like to try another method, you can try division. This will stop the orchid from blooming for a year. However, it can be a more reliable alternative than seed.
Why isn’t my orchid blooming?
If you find that your orchid hasn’t bloomed for a while, it may be suffering from some problems. The most common cause of failure to bloom is a lack of light – the leaf color can usually determine this. If the leaves start to turn yellow, it’s likely that the orchid isn’t receiving enough light, and you should move it to a different position. A south-facing window is always a good option, and it is more than likely to provide enough light.
When should I repot my orchid?
As mentioned in the article, a good time to repot is when the potting mix becomes impermeable (water cannot move through it). If the soil begins to become impermeable, this can lead to the orchid not being able to take in water from its roots, eventually killing it. This usually occurs every few years, and you should notice how fast the water drains. Another reason for repotting is the orchid outgrowing the container. If you notice that the orchid seems to have outgrown its pot, then it’s likely that you should repot it. You can divide it to get a new orchid or place it into a larger pot!


