The iconic saying, “you can’t make a salad without olives,” is quite accurate when it comes to Mediterranean dishes – especially those involving Kalamata olives. But have you ever thought about how these flavorful olives reach your plate? No, right? Let me guide you on how to harvest and brine Kalamata olive tree.
By the end of this article, you’ll know the ins and outs of harvesting and brining the Kalamata olive tree. So, let’s begin!
Is it Tricky to Harvest a Kalamata Olive Tree?
Despite being a bit tricky to tend, the Kalamata olive tree is more than worth it in the end – its delicious olives are unmatched! When you walk through the orchard, remember that cultivating this specific type of tree is like solving a puzzle. Each piece – from fertilizing and pruning to harvesting and brining – needs to come together for an ideal olive. The completion of every individual task culminates into one beautiful final product: your very own heavenly harvest.
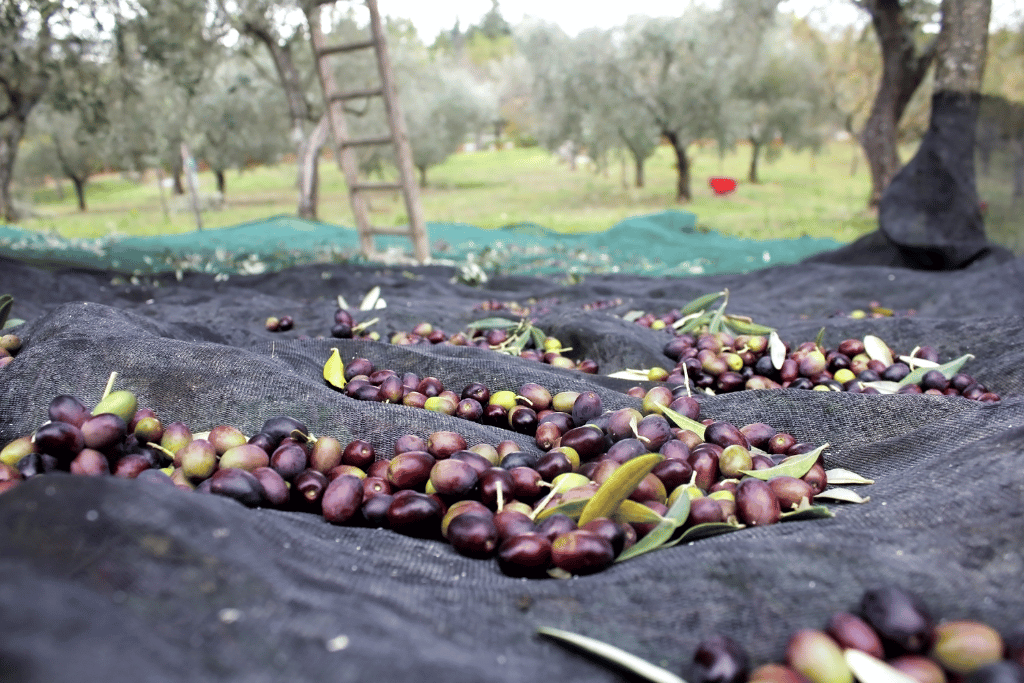
Let me tell you an intriguing story. Recently, I visited a nearby olive orchard with some of my closest friends to harvest olives using the necessary tools and our enthusiasm for the task at hand. As we approached each tree in search of ripe olives, we noticed that many were already on the ground – easy pickings? No! Our guide quickly reminded us that these premature fruit had fallen off too early and weren’t good enough to eat yet; instead, they must be harvested from their respective trees when fully ripened.
The Process of Harvesting a Kalamata Olive Tree
If you’re looking for the highest yield of quality olives from a Kalamata olive tree, then harvesting it requires precision and expertise. Follow these steps to ensure you reap its bountiful harvest:
Choose the right time to harvest
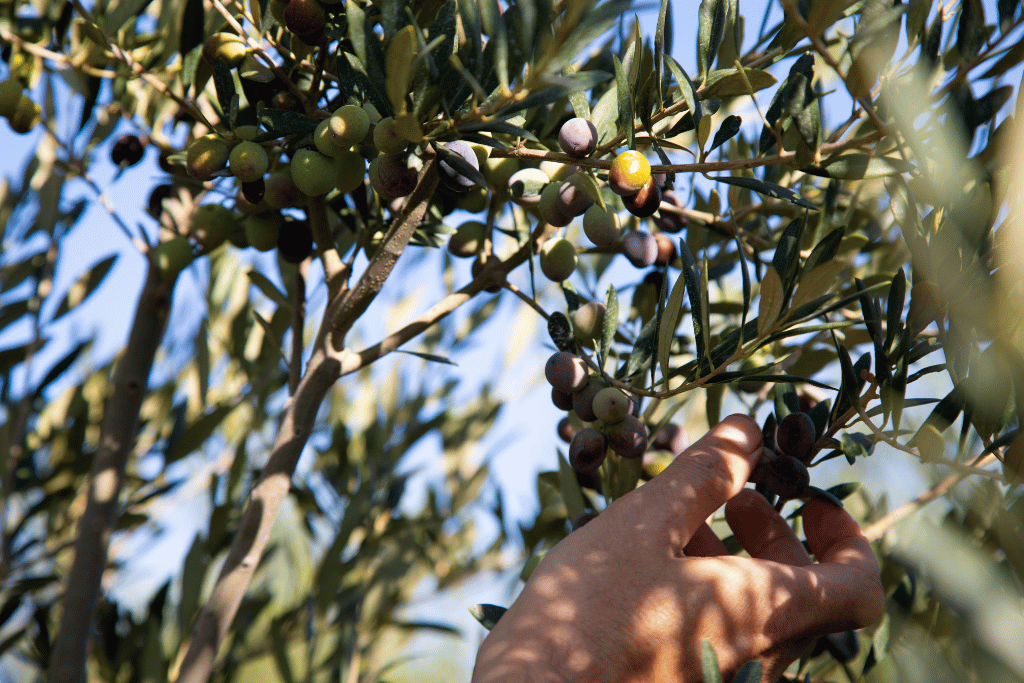
As they reach their peak ripeness in late November and early December, Kalamata olives are harvested. During that time, these fruits transform from a bright green to deep black/purple color – an obvious sign of readiness for harvesting!
Gather the olive harvesting tools
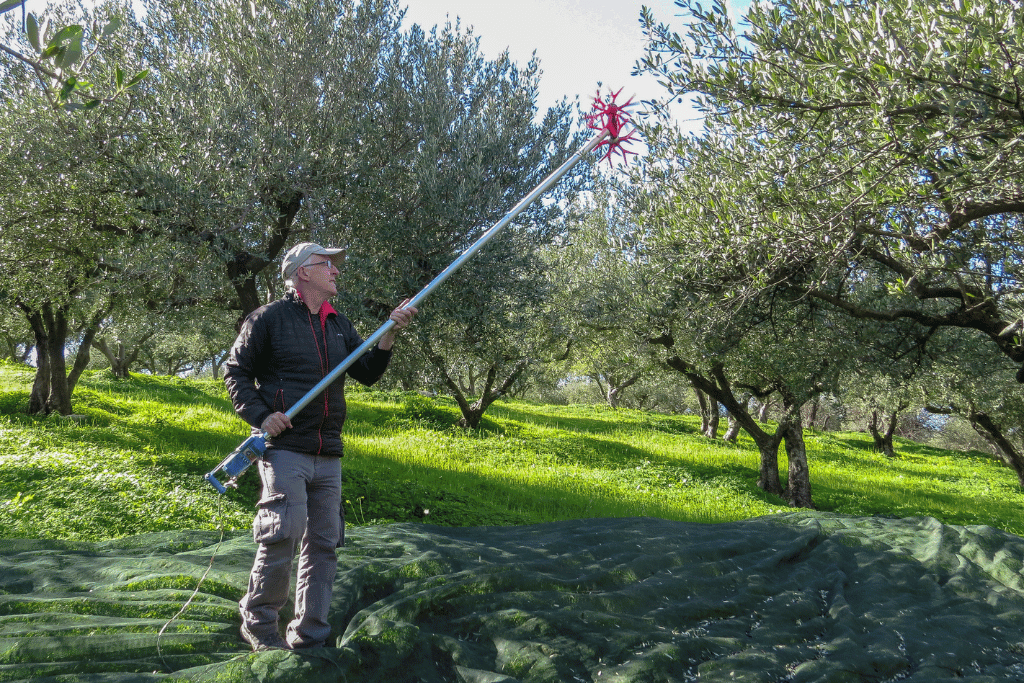
To collect Kalamata olives, you will need an arsenal of items. A ladder is essential for reaching the highest branches, as well as a rake or stick with a hook to pull them down. Then it’s time to protect your bounty from falling on the ground – use either a tarp or net and finally have some sort of receptacle such as a basket or container ready for picking up all those juicy olives!
Position the tarp or net
Carefully arrange the tarp or net around the base of your Kalamata olive tree, so that all ripened olives can be collected without any mess. Ensure a secure and even placement to keep it from slipping off while shaking branches during harvest time.
Use the rake or hook to shake the branches
Scaling the ladder and cautiously using a rake or hook to shudder the branches of your Kalamata olive tree will cause its delicious fruits to fall into a tarp or net below. Exercise caution, though – shaking too hard may injure either the olives or their parent tree.
Collect the olives
After the olives have dropped to the tarp or net, quickly gather them up with a basket or container. Clear out any leaves and twigs that may have collected among them, being mindful not to step on any of the precious olives as they can be easily crushed.
Store the olives properly
Keep your Kalamata olives in a cool, dry area for future processing. It’s ideal to wait until you are ready to use them before washing the olives so that they don’t spoil. Store the olives in airtight jars or containers then add salt and water for brine preserving, or opt to preserve them in oil instead.
Following these steps will help you reap a bountiful harvest of delectable Kalamata olives.
After Olives Picking and Preparation, It’s Time From Brining
After selecting your olives, it’s time to get them prepared for brining. Give the olives a good wash first – this will ensure any dirt or debris is gone before you move on. Then divide them into piles based on their size and shape. From there, you can choose to either brine them whole or mash the olives up to make some delicious olive oil!
The Process of Brining a Kalamata Olive Tree
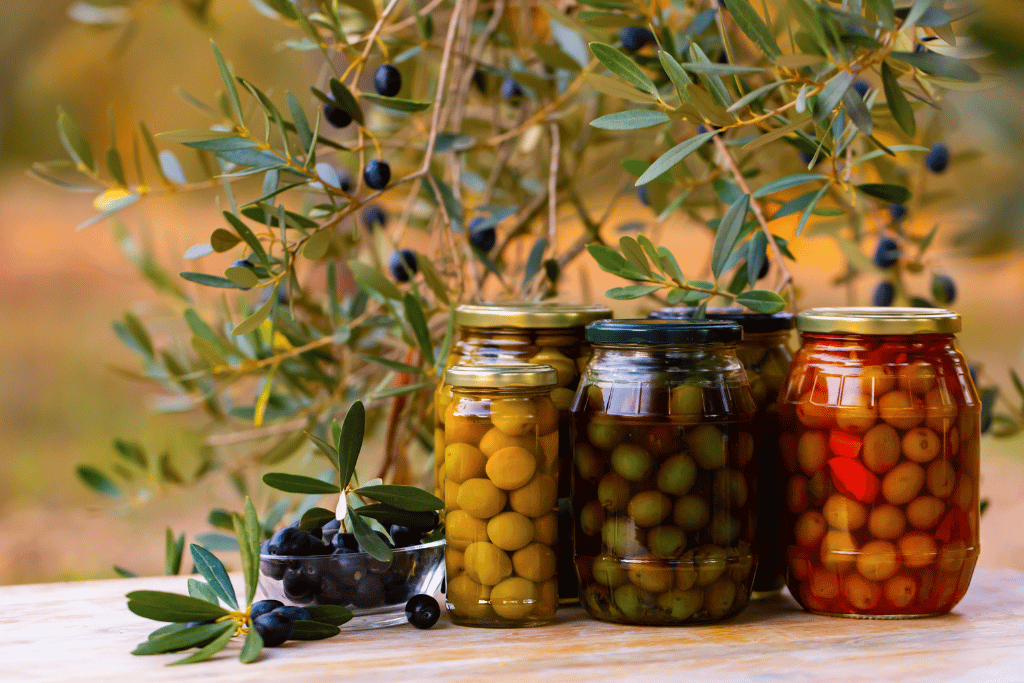
Let’s move on to the brining process. This is a method where olives are soaked in saltwater for several weeks, which not only helps to keep them fresh longer but also infuses them with delectable taste!
To create a delicious brine for your olives, stir together water and salt in a large bowl. Then add the olives as well as any additional flavorings you desire; think of herbs or spices to tantalize your taste buds!
Frequently Asked Questions (FAQ)
How do you Pick Kalamata Olives?
The exciting part – harvesting the olives. When picking out your olives, search for those that are a deep purple shade and firm to the touch. How do you go about gathering them? There is an old-school method of using a rake-like tool to glide through the foliage and release the fruit from its branches.
Can Kalamata Olives be Picked Green?
This is a topic of heated debate. Some believe that harvesting olives early while they are still green results in a more bitter taste whereas others claim the exact opposite. The truth however, is much simpler – you can collect Kalamata olives when they remain verdant but it won’t impart the same flavor intensity as their fully ripened counterparts. If exceptional flavor is what you seek then it’s best to wait until these succulent treasures reach a deep, velvety purple hue before collecting them!
How do you Know When Olives are Ready to Harvest?
When it comes to determining when olives are ready for harvesting, color and texture give us crucial information. Though these two indicators alone can tell a lot about an olive’s ripeness, there are additional signs we should look out for — wrinkles. As soon as you spot the skin of an olive wrinkling up, that means they have become overripe and require immediate collection; conversely if they remain hard to the touch then they need more time on the tree before being harvested.
What is the shelf life of kalamata olives?
If you’re looking for a longer shelf life, preserving Kalamata olives in brine will allow them to last between 12-18 months. However, if you want a fresher product with slightly less longevity, store them in a cool and dry area.
Opening your jar of Kalamata olives shortens their lifespan though; ensure that any unsealed container is finished within one week.
Do Kalamata Olives go bad?
Kalamata olives can go bad if not stored or handled properly and are beyond their shelf life. The signs of spoiled olives include a foul odor, discoloration, mold growth, as well as an overly slimy texture; all indicators that the product should be discarded immediately.


