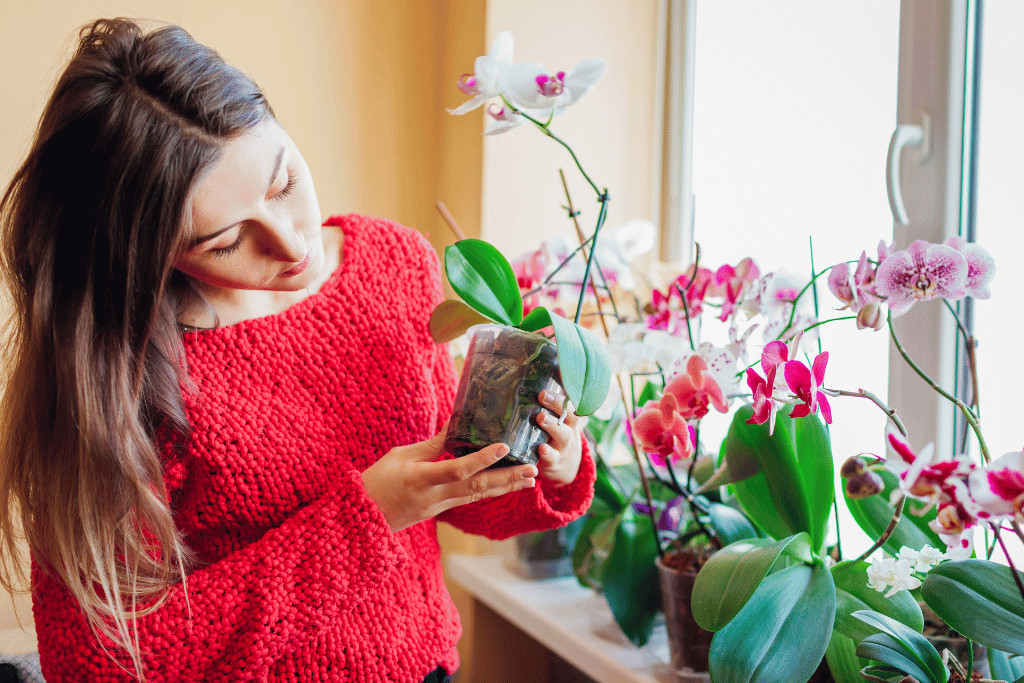
Orchids are one of the most popular and easy to care for plants. They have been treasured in gardens and homes for centuries, but many people don’t know how to care for an orchid indoors. It takes a bit more effort than other houseplants, but with a few simple tips you can keep your orchid thriving all year round!
Here’s how to care for an orchid indoors.
1. Light: Orchids Love Bright, Indirect Light
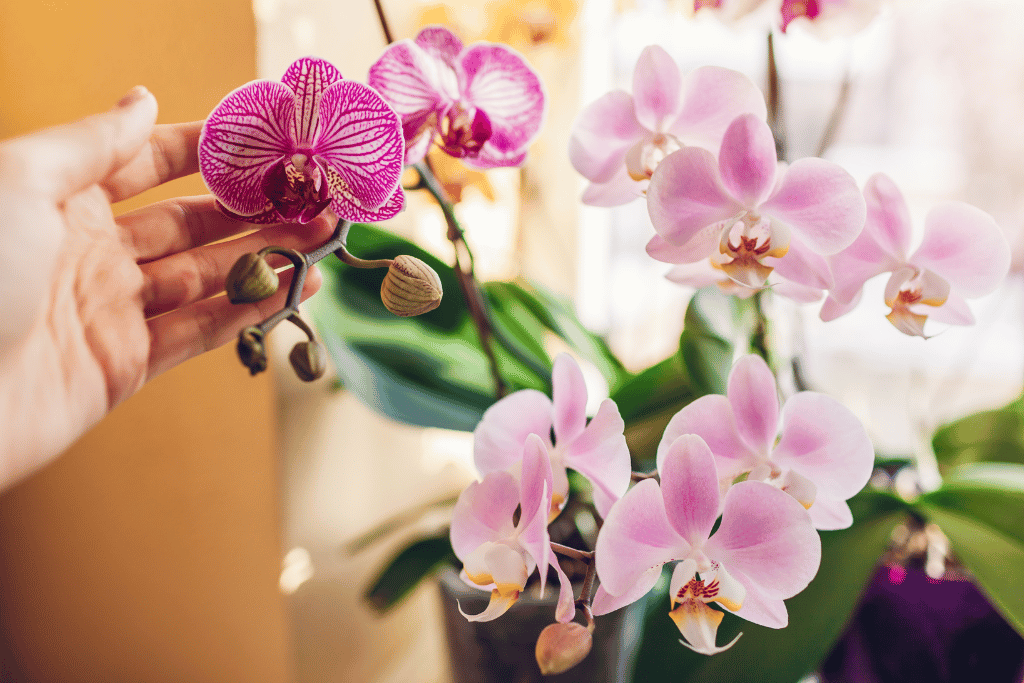
Light is a fundamental factor in the care of orchids. Orchids require the right amount of light to grow and bloom successfully. Unlike many houseplants, orchids thrive in bright, indirect light. This means they should receive light that is not too intense or direct, similar to the kind of light that African violets (Saintpaulia) prefer.
When your orchid gets the proper amount of light, its leaves will be a medium, grassy green color. If the leaves are dark green, it indicates that the orchid is not receiving enough light, and it’s less likely to produce flowers.
However, too much direct sunlight can be harmful to orchids, especially during the hottest parts of the day. It can lead to scorched leaves or even damage the plant.
If your indoor space lacks sufficient natural light, you can consider using artificial lighting for your orchids.
High-output, full-spectrum fluorescent or LED lights work well for orchids. Position these lights approximately 6 to 12 inches away from the orchid foliage. To promote healthy growth and blooming, most orchids need at least 14 hours of light per day when grown under artificial grow light.
2. Soil (Media): Orchids Don’t Need Soil
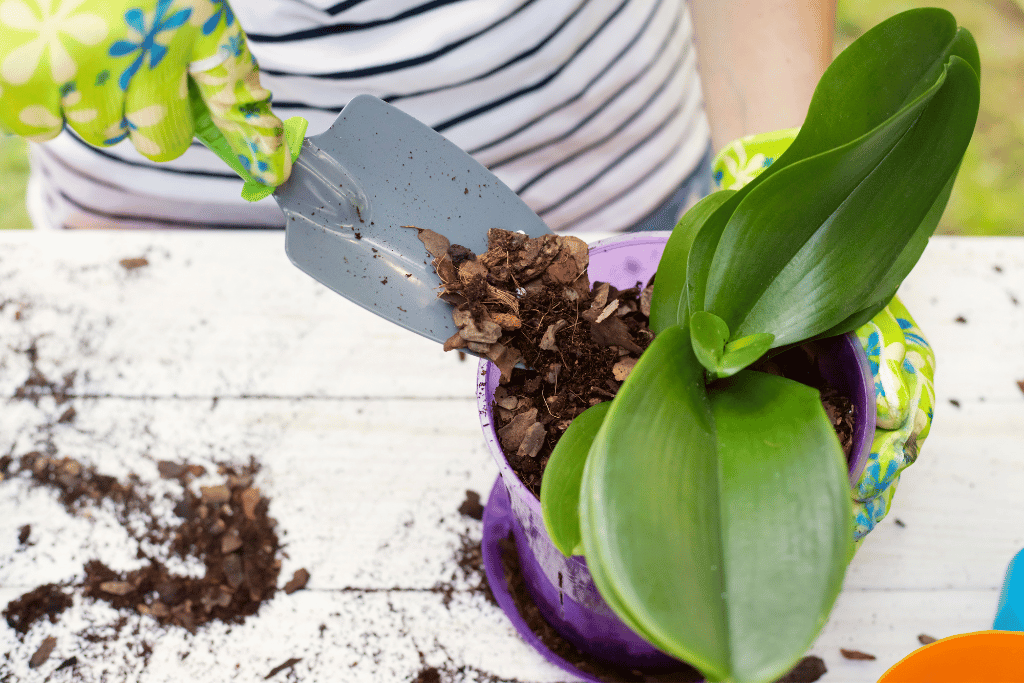
Moving on with our guide on how to care for an orchid indoors, next we have the soil requirements.
Understanding the growing media for orchids is essential for their well-being. Unlike many other plants that thrive in regular soil, orchids are epiphytic, which means they don’t grow in soil at all. Instead, they have unique requirements when it comes to their growing medium, often referred to as “media.”
For indoor orchids, the most common media include coarse bark and sphagnum moss. These materials provide the necessary support and drainage for orchids while mimicking their natural growing conditions. Occasionally, you may come across orchids grown in expanded clay products (e.g., Aliflor), rockwool, or lava rock, but these are typically used by more advanced orchid growers.
The key factor for all these media types is that they should allow for sharp drainage. Orchids have aerial roots, and if the media retains too much water, these roots can rot, leading to the demise of the plant.
Which media to use often depends on personal preference, your watering habits, and the specific orchid species you’re caring for. Coarse bark and sphagnum moss both have their advantages and limitations. Some orchid enthusiasts even mix these media types to strike a balance between air and water retention.
Bark mixtures, typically made from coarse chips or pieces of fir bark, offer excellent drainage. They dry out quickly, making them more forgiving if you accidentally overwater. However, they do break down relatively quickly, which means you’ll need to repot your orchid more frequently when using bark.
Sphagnum moss mixtures consist of coarse, long-fibered pieces of unmilled sphagnum moss. They retain more moisture, which can be beneficial in certain conditions but may also lead to overwatering and root rot if you’re not careful. Sphagnum moss is cheaper and easier for most gardeners to use than bark but does require more frequent repotting.
It’s worth noting that some orchid species are occasionally grown without any media at all. Instead, they are mounted onto the surface of a board or another plant. However, not all orchid species thrive using this method indoors. Vanda and Brassavola are two examples of orchid species that respond well to being mounted.
3. Container: Choose the Right Pot
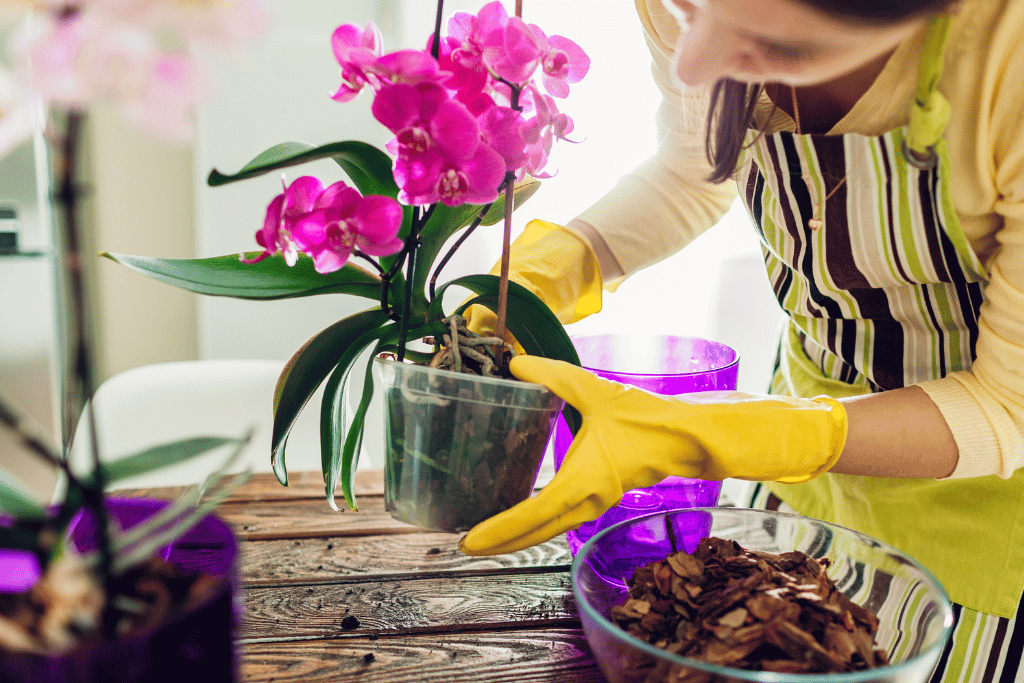
Selecting the appropriate container for your orchids is a crucial aspect of their care. Orchids have unique requirements when it comes to containers because they need excellent drainage to prevent waterlogged roots. Regular garden pots won’t suffice for these special plants.
Here are some container options suitable for orchids:
- Clear Plastic Pots: These pots have the advantage of allowing you to see the condition of the roots. They also enable the roots to photosynthesize by receiving some light.
- Plastic Pots with Raised Domes in the Base: These pots provide extra drainage and air circulation, which can be beneficial for orchids.
- Net Pots: Net pots are plastic containers with a grid-like structure reminiscent of a laundry basket. They promote good airflow around the roots.
- Wooden Baskets: Wooden baskets are aesthetically pleasing and offer excellent drainage. They are a popular choice for many orchid growers.
- Terracotta Pots with Drainage Holes: Terracotta pots are porous, allowing for quicker drying of the potting medium. They have drainage holes on the bottom and sides.
- Glazed Ceramic Pots with Drainage Holes: Glazed ceramic pots are attractive but not as porous as terracotta. They still have drainage holes on the bottom and sides.
Double pots can also be a useful option. They involve placing a plastic orchid pot inside a more decorative outer pot. This arrangement maintains proper drainage while enhancing the appearance of your orchid. However, it’s crucial to ensure that excess water doesn’t accumulate in the space between the two pots.
Keep in mind that orchids actually prefer “cramped quarters,” so don’t be alarmed if the container appears slightly smaller than you might expect. A properly sized container will provide the right balance between support and drainage for your orchid.
4. Temperature: Match Temperature to Orchid Type
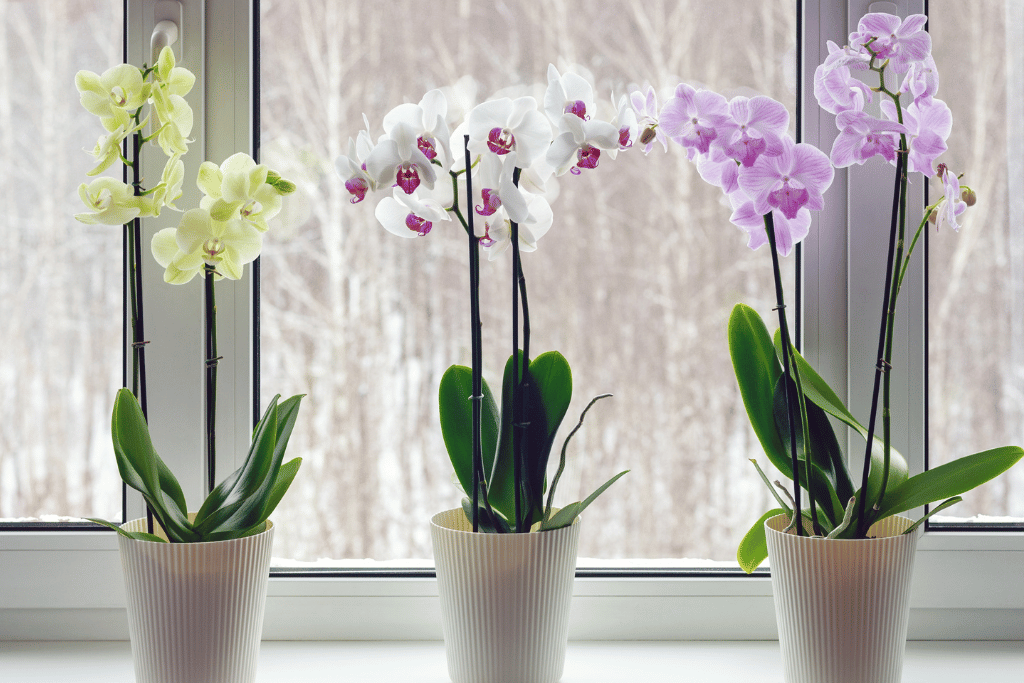
You can’t miss the temperature if you want to know how to care for an orchid indoors!
Orchids are a diverse group of plants, and different species have varying temperature preferences. Understanding these preferences is essential for keeping your orchid healthy and encouraging it to bloom. Orchids are generally classified into three main temperature groups:
Cool Temperature Orchids (60-75°F): These orchids include varieties like Cymbidium, Odontoglossum, Miltonias, and some Paphiopedilum and Dendrobium species. They thrive in cooler conditions and require daytime temperatures in the range of 60-75°F.
Intermediate Temperature Orchids (70-80°F): Orchids in this group, such as Cattleya, Oncidium, some Phalaenopsis, and many Paphiopedilum and Dendrobium species, prefer temperatures ranging from 70-80°F during the day.
Warm Temperature Orchids (75-85°F): Doritis, many Phalaenopsis, and some Paphiopedilum and Dendrobium species fall into this category. They thrive in warmer conditions, with daytime temperatures typically between 75-85°F.
If you’re unsure which temperature group your orchid belongs to, treating it as an intermediate-temperature orchid is a good starting point, as most orchids grow well in these conditions. Regardless of the temperature group, it’s crucial to provide a temperature drop of 10-15°F between day and night. This temperature variation is essential for triggering flowering and promoting overall growth and development.
Seasonal temperature changes are also significant, especially for encouraging flower development. Many homes naturally experience temperature variations between summer and winter, making it easier to meet these requirements.
To ensure your orchids receive the appropriate temperatures, take advantage of “microclimates” within your home. Some areas, like a spare bedroom or spots closer to windows, may naturally provide cooler or warmer conditions.
Using a thermometer with a min-max reading for a 24-hour period can help you monitor and maintain the right temperatures throughout the day and year.
5. Humidity: Increase Indoor Humidity
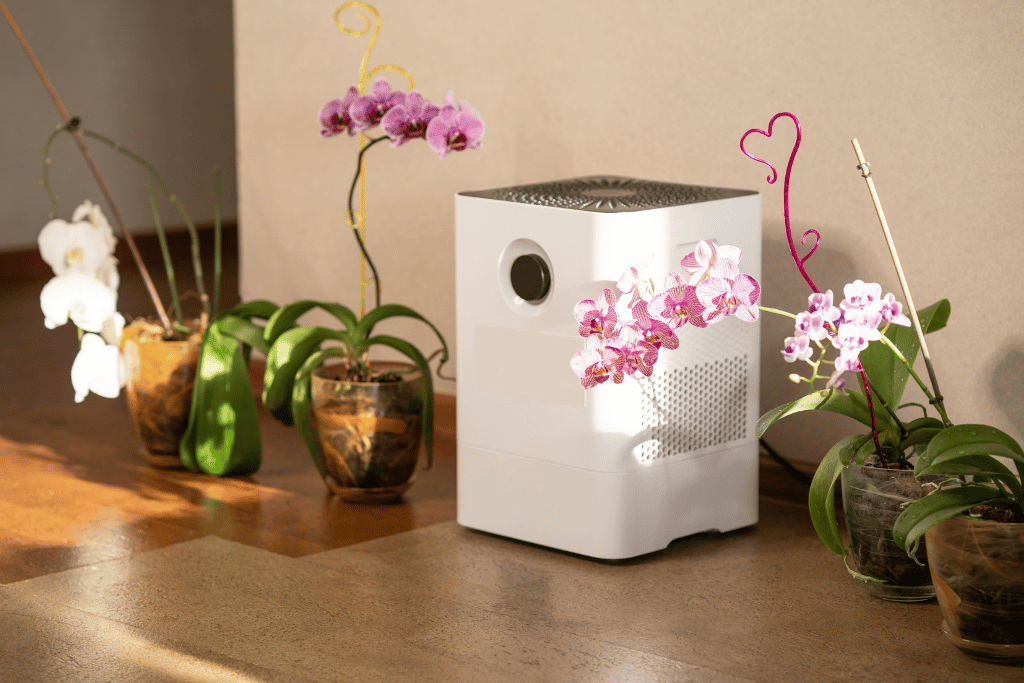
Maintaining the right level of humidity is crucial when considering how to care for an orchid indoors, as these plants thrive in humid environments.
Indoor humidity levels often fall outside the ideal range for orchids, which is typically between 40% and 70%. This is especially true during the dry winter months. Low humidity levels can negatively impact your orchid’s health and well-being, so it’s crucial to find ways to increase indoor humidity.
Here are some methods to raise humidity around your orchids:
Grouping Plants: Placing your orchids close to each other, especially with other humidity-loving plants like ferns, can create a microenvironment with higher humidity levels.
Humidifiers: Using a humidifier in the room where your orchids are kept can be an effective way to raise humidity. Be sure to monitor humidity levels to ensure they stay within the ideal range.
Pebble Trays: A simple and cost-effective method involves placing a tray filled with water and pebbles near your orchids. As the water evaporates, it increases the humidity in the immediate vicinity.
Terrariums: Creating a small terrarium can be an attractive way to maintain higher humidity levels around your orchids. Ensure good airflow to prevent fungal issues.
While misting is a common method to increase humidity, it’s less effective for orchids because the droplets tend to be too large. However, misting can still be beneficial for watering orchids and keeping their foliage clean.
To accurately monitor humidity levels, consider using a humidity gauge in the vicinity of your orchids. This tool can help you ensure that the humidity stays within the recommended range.
6. Air Movement: Keep Air Circulating
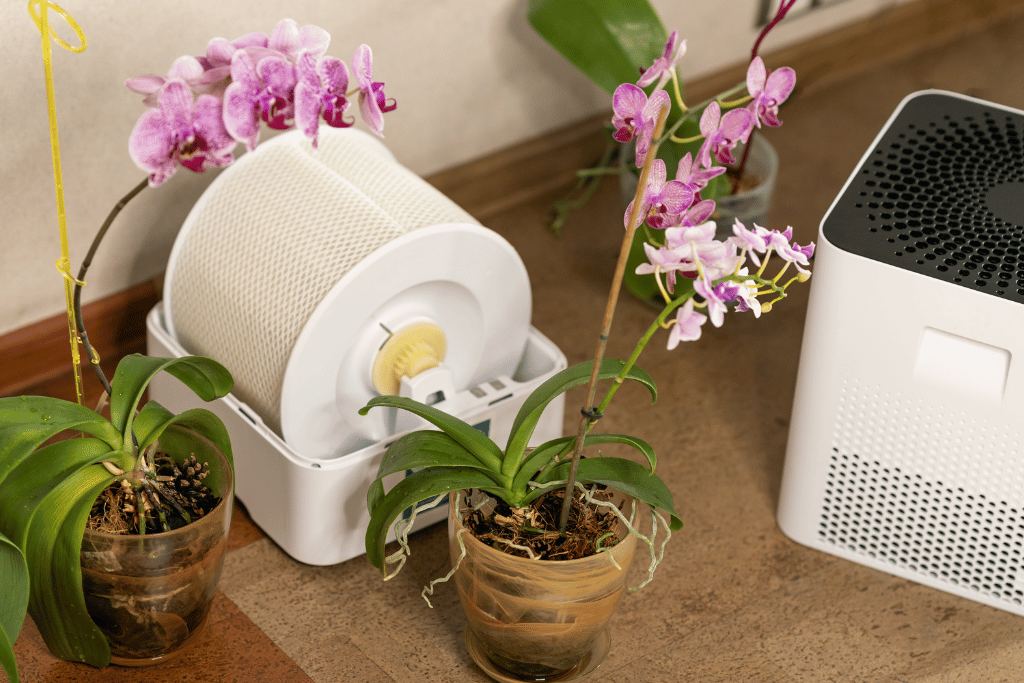
Air movement is a critical consideration when growing orchids indoors. Unlike many other houseplants, orchids require both high humidity and adequate air circulation. Striking the right balance between these two factors is essential for your orchid’s health.
Here’s why air movement matters:
- High Humidity: Orchids thrive in high humidity, but stagnant, still air can lead to problems such as mold and fungal growth. Adequate air movement helps prevent these issues by promoting air exchange and reducing moisture buildup on the plant’s surface.
- Avoiding Disease: Orchids are susceptible to diseases, and still air can create conditions conducive to fungal and bacterial infections. Proper air circulation can help prevent these problems by keeping the environment less favorable for pathogens.
However, it’s important to note that too much air movement can have a negative impact on orchids by drying out the potting medium too quickly or causing desiccation of the plant. Therefore, it’s crucial to strike the right balance.
To provide adequate air movement for your orchids:
Use a Small Fan: Placing a small, oscillating fan in the vicinity of your orchids can help maintain a gentle and consistent airflow. Ensure that the fan is not blowing directly on the plants, as this can lead to excessive drying.
Ceiling Fans: If your growing space allows, consider using ceiling fans to promote air circulation. Adjust the fan speed to create a gentle breeze rather than a strong wind.
Fan Positioning: Experiment with the fan’s positioning to find the right balance of air movement. You want to avoid excessively vigorous air currents while ensuring that there is enough airflow to prevent stagnant conditions.
By maintaining appropriate air movement, you’ll create an environment that supports healthy orchid growth and reduces the risk of disease and other problems associated with still air.
7. Watering: Quenching the Thirst
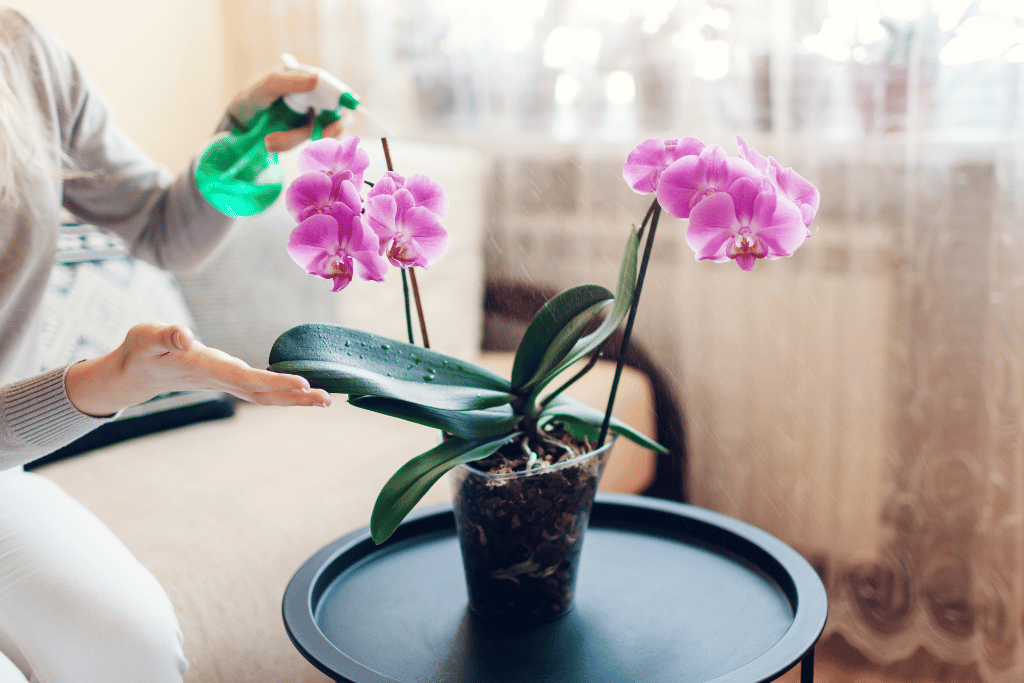
Watering orchids can be one of the most challenging tasks when it comes to Orchid care, but it’s also one of the most crucial. Orchids are sensitive to both overwatering and underwatering, so getting the watering routine right is essential for their well-being.
The “Just Right” Rule:
Orchids should be watered when they are just about to dry out but before they become completely dry. Finding this balance depends on several factors, including the orchid species, potting medium, container, environmental conditions, and season of the year.
Observation is Key:
Get to know your orchid’s specific needs by closely observing it. Pay attention to the potting medium, not just the surface but deeper down. When it’s nearly dry, it’s time to water.
Consider the Water Quality:
The quality of the water you use is important. Orchids are sensitive to the chemicals found in tap water. Using distilled water, rainwater, or water treated with a water conditioner is often recommended. If you must use tap water, allow it to sit for 24 hours to allow some of the chemicals to dissipate.
Watering Technique:
When it’s time to water, thoroughly soak the potting medium and allow excess water to drain away. Watering from the top and allowing it to flow through the potting medium helps ensure that all the roots receive moisture.
Avoid Standing Water:
Never allow your orchid’s container to sit in standing water. This can lead to root rot, a common problem in orchids. Ensure that the container has proper drainage, and empty any excess water from the saucer or tray after watering.
Frequency of Watering:
The frequency of watering depends on various factors, including the type of orchid, potting medium, and environmental conditions. In general, orchids potted in bark-based media may require watering every 7-10 days, while those in moss-based media may need more frequent watering, possibly every 5-7 days. However, these are rough guidelines, and the best indicator remains the moisture level of the potting medium.
Morning Watering:
Many orchid growers prefer to water their plants in the morning to allow excess moisture to evaporate during the day. Avoid watering in the late afternoon or evening, as this can leave the plant vulnerable to fungal and bacterial issues due to extended periods of dampness.
Adapt to Seasons:
Be aware that your orchid’s water needs may vary with the seasons. In general, orchids tend to require less water during the winter when growth slows down and more during the active growing season in spring and summer.
Monitor for Signs of Overwatering or Underwatering:
You should be cautious about overwatering and know precisely how to care for an orchid indoors to prevent root rot.
Pay attention to your orchid’s leaves and roots. Wrinkled or shriveled pseudobulbs or bulbs can be a sign of underwatering, while yellowing or soggy pseudobulbs or bulbs may indicate overwatering. Healthy roots should be plump and green or white, while brown or black, mushy roots are a sign of root rot.
Remember that over time, you will become more attuned to your orchid’s specific watering needs. By observing and adjusting your watering routine accordingly, you’ll provide the right amount of moisture to keep your orchid healthy and thriving.
8. Fertilizer: Feed Orchids Sparingly
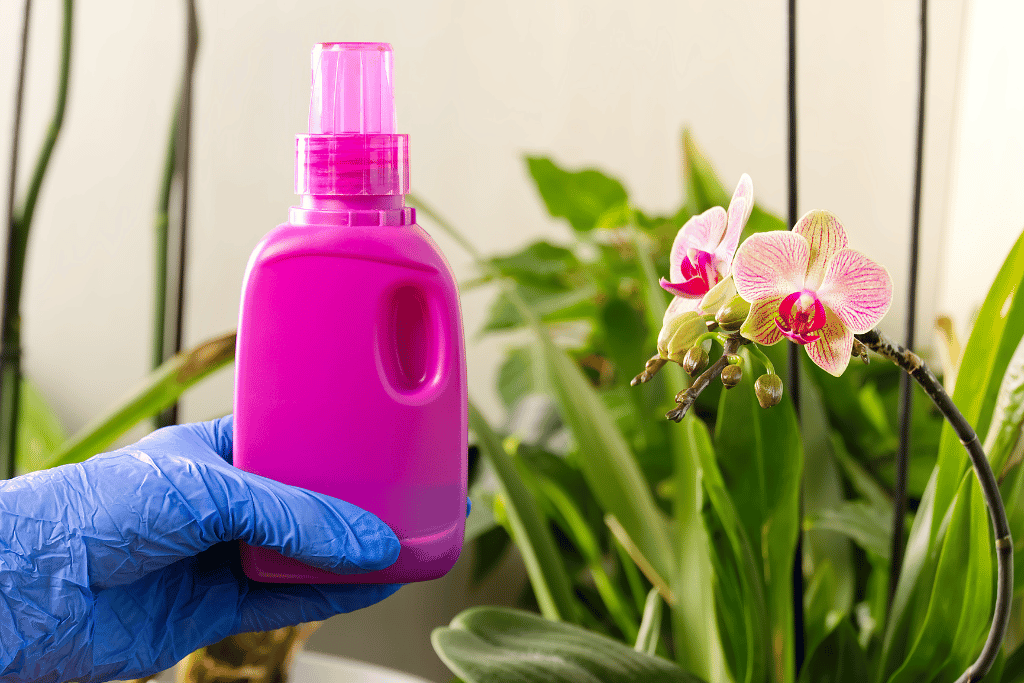
Fertilizing orchids is essential for their overall health and the production of beautiful blooms, but it’s important to do so sparingly and with the right type of fertilizer. Unlike many other houseplants that may require regular feeding, orchids have relatively low fertilizer needs.
Use a Balanced Fertilizer:
Orchids benefit from a balanced, water-soluble fertilizer that includes essential micronutrients. Look for a fertilizer with an N-P-K ratio of around 20-20-20 or similar. This ratio indicates the percentage of nitrogen (N), phosphorus (P), and potassium (K) in the fertilizer.
Dilute the Fertilizer:
When fertilizing orchids, always dilute the fertilizer to a quarter or half the strength recommended on the product label. Orchids are sensitive to overfeeding, and using a full-strength fertilizer can lead to salt buildup, which can damage their roots.
Frequency of Fertilizing:
During the active growing season in spring and summer, most orchids benefit from regular, weak fertilization. Many growers follow the “weakly, weekly” approach, applying a diluted fertilizer solution once a week. However, individual requirements can vary based on the specific orchid species and growing conditions.
Adjust Based on Conditions:
Orchids may have different fertilizer needs depending on factors such as light, temperature, humidity, and the type of potting medium. Keep an eye on your orchid’s growth and adjust the frequency and strength of fertilization accordingly.
Flush the Potting Medium:
Periodically, it’s essential to flush the potting medium with plain water. This helps remove any accumulated salts from the fertilizer and prevents salt buildup, which can harm the orchid’s roots. You can do this by watering your orchid thoroughly with plain water until water runs freely from the drainage holes.
Avoid Fertilizing Dry Orchids:
It’s generally not advisable to fertilize orchids when the potting medium is dry. Always water your orchid before applying fertilizer to prevent potential root burn.
Use Orchid-Specific Fertilizers:
While balanced, water-soluble fertilizers work well for orchids, you can also find specialized orchid fertilizers on the market. These products are formulated with the unique nutrient requirements of orchids in mind.
Fertilize Only During Active Growth:
Orchids benefit most from fertilizer when they are actively growing. If your orchid is not producing new leaves or roots, it’s best to reduce or suspend fertilization until growth resumes.
Keep Records:
Keeping a fertilization schedule and notes on the type and strength of fertilizer used can help you track your orchid’s nutritional needs and adjust your approach over time.
Fertilizing your orchid should be approached with caution, as overfertilization can lead to a host of problems, including root damage and poor flowering. By following these guidelines and monitoring your orchid’s response, you’ll provide the right amount of nutrition to keep it healthy and thriving.
9. Pruning and Deadheading: Minimal Pruning Needed
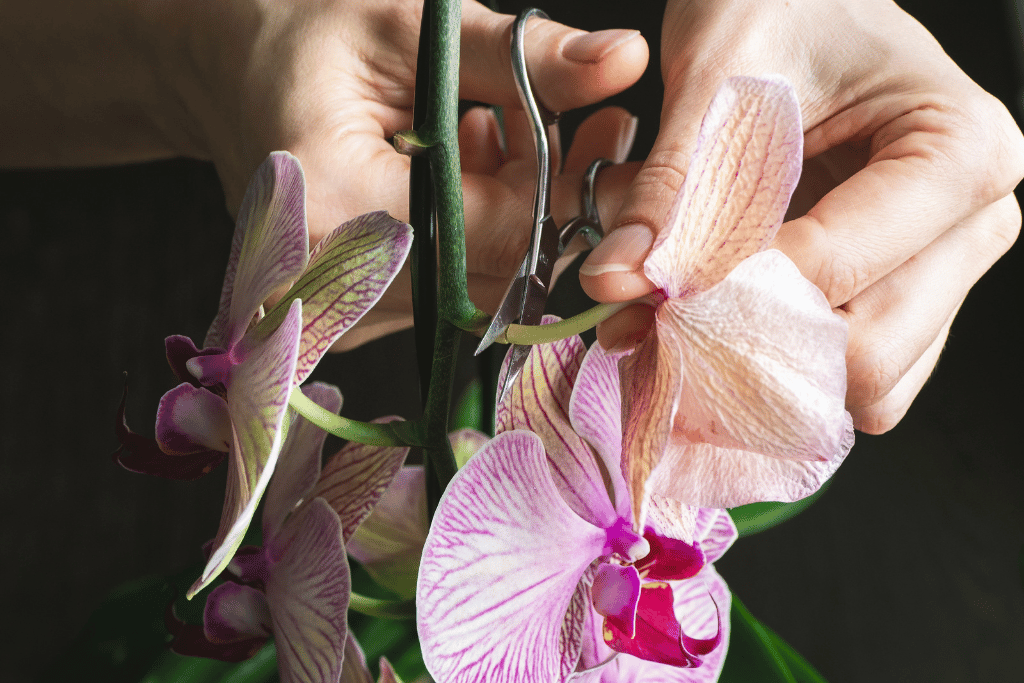
Pruning and deadheading orchids are relatively simple tasks compared to many other plants. Orchids typically require minimal pruning, but these occasional maintenance tasks can help keep your orchid looking its best and in good health.
Here are some essential points to consider:
Pruning Dead or Brown Leaves:
- Regularly inspect your orchid for dead or brown leaves. These leaves no longer contribute to the plant’s health and appearance.
- Use sharp, sterilized pruners or scissors to trim away any dead or brown leaves. Make clean cuts near the base of the leaf or stem.
- It’s essential to sterilize your pruning tools between plants to prevent the spread of diseases or viruses. You can use rubbing alcohol or a bleach solution for sterilization.
- Removing dead leaves not only enhances the overall appearance of the orchid but also reduces hiding places for pests and diseases.
Pruning Aerial Roots:
- Orchids often produce aerial roots that extend above the potting medium. These roots are normal and serve various functions, including nutrient absorption and attachment to support structures in their natural habitat.
- While it’s generally not necessary to trim aerial roots, you may choose to do so if they become excessively long or unsightly. Use sterilized scissors or pruners for this task.
- If you decide to trim aerial roots, cut them just above a node (a small, visible bump or line) to encourage branching and new root growth.
Deadheading Spent Flowers:
- Orchid flowers don’t last forever, and as they age, they can lose their vibrancy and attractiveness. Deadheading is the process of removing spent flowers to improve the orchid’s appearance and potentially encourage new blooms.
- To deadhead an orchid, gently pinch or twist the faded or wilted flower at its base where it connects to the flower spike (stem).
- Be careful not to damage the flower spike or any nearby buds or emerging flowers when deadheading. A healthy flower spike can produce multiple flowers over time.
Pruning Flower Spikes:
- After all the flowers have faded and been deadheaded, you may choose to prune the entire flower spike. This is an optional step and depends on the type of orchid you are growing.
- Some orchids, like Phalaenopsis (moth orchids), can produce new flower buds on the same spike. If you leave the spike intact and continue to care for the orchid, it may rebloom from the same stem in the future.
- If you decide to prune the flower spike, cut it just above a node using sterilized tools. Be mindful of any potential future buds that may develop below the cut.
All in all, orchids generally require minimal pruning. Regularly removing dead or unsightly leaves and deadheading spent flowers can help maintain the overall health and appearance of your orchid. Keep pruning tools clean and sterilized between uses to prevent the spread of diseases. Additionally, consider the specific needs and potential reblooming capabilities of your orchid species when deciding whether to prune flower spikes.
10. Repotting: Repot Every Few Years
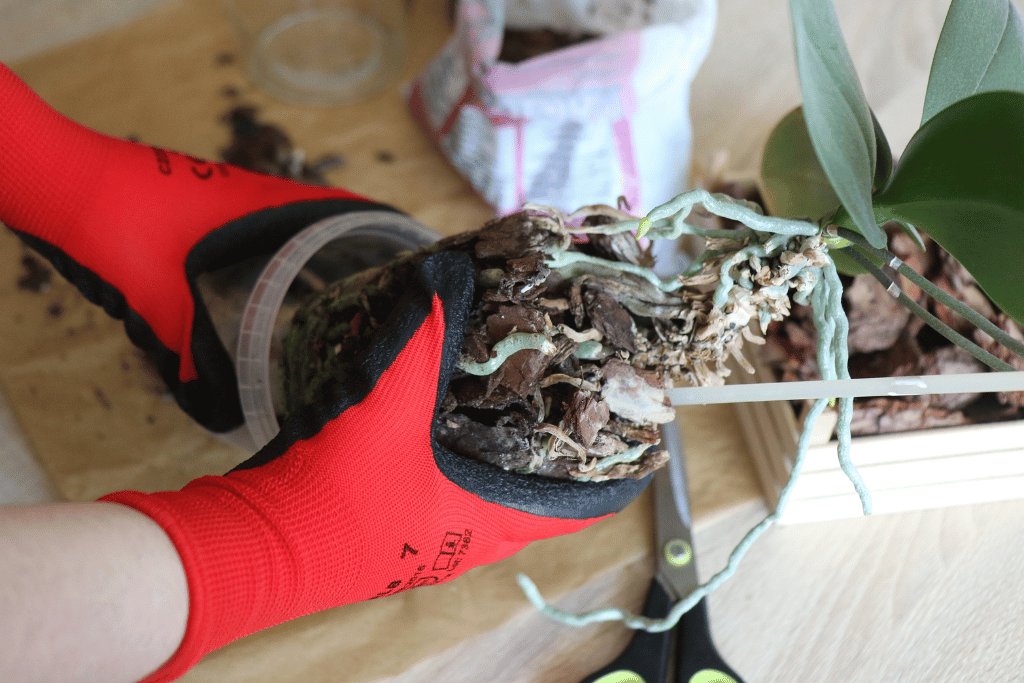
Repotting your orchid every two to three years is an essential part of orchid care. Over time, the potting medium breaks down, and the orchid’s roots can outgrow their container. Repotting allows you to refresh the growing medium, assess the health of the roots, and provide the orchid with a suitable environment for continued growth and blooming.
Here’s a step-by-step guide to repotting your orchid:
Prepare Your Workspace:
Gather all the necessary supplies, including a new container, fresh potting medium, sterilized pruning shears or scissors, a clean towel, and any necessary support stakes or ties.
Consider wearing gloves to protect your hands, as some orchids have sharp roots or edges.
Remove the Orchid from Its Current Pot:
Carefully slide or gently tap the orchid’s current pot to loosen it. If the orchid is stuck, you can use a knife or thin, flat tool to carefully separate the root mass from the pot’s edges. Be gentle to avoid damaging the roots.
Inspect the Roots:
Examine the roots to assess their health. Healthy roots are typically firm, plump, and green or white. Trim away any roots that are soft, mushy, brown, or black. Make clean cuts using sterilized pruning shears or scissors.
Remove Old Potting Medium:
Gently remove the old potting medium from the root mass. You can use your fingers or a gentle stream of water to help with this process.
Be thorough but gentle to avoid damaging the roots.
Trim the Flower Spike (if present):
If your orchid has a spent flower spike, you can choose to trim it back to encourage new growth or leave it intact if you think it might rebloom.
Prepare the New Container:
Select a new container that is only slightly larger than the orchid’s root mass. Orchids prefer snug quarters, so avoid pots that are too large.
Ensure that the new container has proper drainage holes.
Add Fresh Potting Medium:
Place a layer of fresh potting medium at the bottom of the new container. The type of medium you use depends on your orchid species and personal preferences (e.g., bark, sphagnum moss, or a combination).
Position the orchid’s root mass on top of the new medium, making sure the base of the orchid (where the leaves meet the roots) is level with the container’s rim.
Fill in with Potting Medium:
Gently fill in the gaps around the root mass with a fresh potting medium. Ensure that the roots are well-distributed and surrounded by the medium. Lightly tap the container to settle the medium and eliminate air pockets.
Secure the Orchid:
If your orchid is top-heavy or needs support, use stakes, ties, or other appropriate support methods to secure it in place.
Water the Orchid:
Water the newly potted orchid thoroughly, allowing water to flow through the drainage holes. Ensure that the potting medium is evenly moist but not waterlogged.
Place the Orchid in Its Growing Environment:
Return the orchid to its usual growing location, whether it’s near a window, under artificial lights, or in a specific microclimate that suits its needs.
Monitor and Care:
Keep a close eye on your recently repotted orchid to ensure it adjusts well to its new environment. Be mindful of its water and light requirements in the weeks following repotting.
Repotting is an opportunity to refresh your orchid’s growing conditions and promote its long-term health. It’s typically performed every two to three years or when you notice signs of overcrowded roots, deteriorating potting medium, or the orchid outgrowing its container.
With proper repotting, your orchid will have the space and support it needs to thrive and continue producing stunning blooms.
5 Best Orchid For Indoors
1. Phalaenopsis Orchid
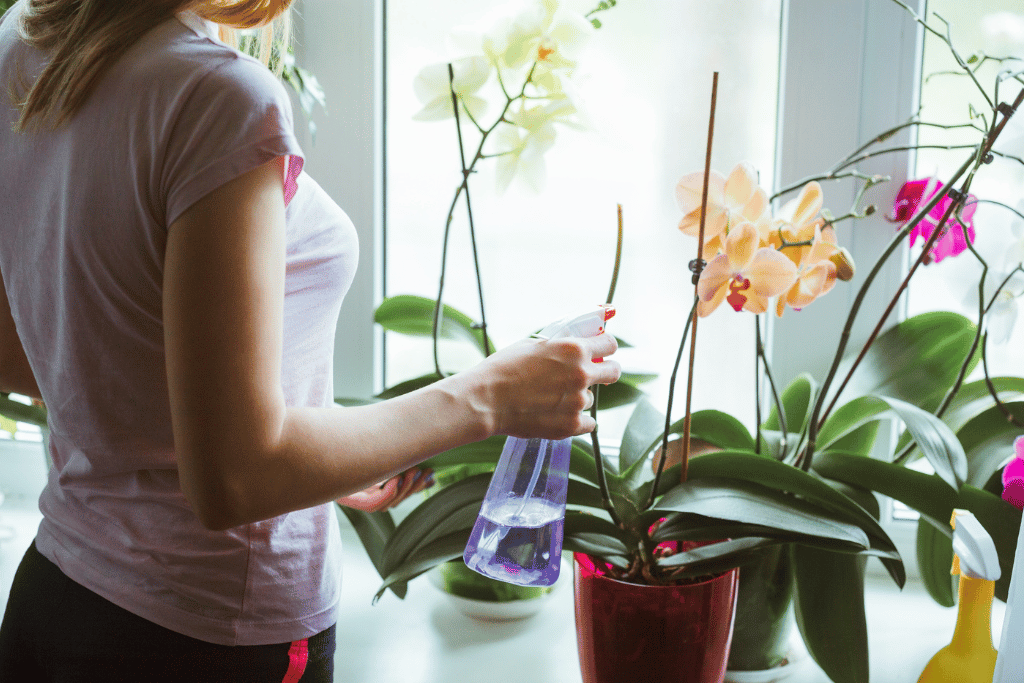
Why Phalaenopsis is Great for Indoors: Phalaenopsis orchids, often referred to as “moth orchids,” are one of the most popular choices for indoor orchid enthusiasts. Their stunning and long-lasting blooms make them a favorite among orchid lovers.
Here’s why they thrive indoors:
Low Light Tolerance: Phalaenopsis orchids can adapt to a variety of indoor light conditions, from bright indirect light to lower light levels, making them ideal for most indoor spaces.
Long-Lasting Flowers: These orchids produce large, vibrant flowers that can last for several months, adding beauty to your indoor environment for an extended period.
Low Maintenance: Phalaenopsis orchids are relatively easy to care for, making them a great choice for beginners. They require minimal watering and can thrive in typical indoor temperatures.
2. Paphiopedilum Orchid
Why Paphiopedilum is Great for Indoors: Paphiopedilum orchids, also known as slipper orchids, are renowned for their unique, slipper-shaped flowers.
They are well-suited for indoor cultivation due to the following reasons:
Low Light Adaptability: Paphiopedilums are shade-loving orchids that can thrive in low to moderate light conditions, making them perfect for homes and offices with limited natural light.
Exotic Appearance: The intricate and unusual appearance of Paphiopedilum blooms adds a touch of exotic beauty to indoor spaces, making them a fascinating choice for orchid enthusiasts.
Compact Growth Habit: Paphiopedilums have a compact growth habit, making them suitable for smaller indoor spaces and decorative containers.
3. Vanda Orchid
Why Vanda is Great for Indoors: Vanda orchids are known for their striking, vibrant flowers and are a popular choice for indoor orchid collections.
Here’s why they thrive indoors:
Bright Light Lover: Vanda orchids thrive in bright, indirect light, which is often available near windows indoors. Their need for intense light makes them well-suited for many indoor settings.
Stunning Flowers: Vanda orchids produce large, colorful, and fragrant blooms that can brighten up any indoor space and are often used as decorative centerpieces.
Unique Aerial Roots: Vandas are known for their aerial roots, which can be left exposed, adding an intriguing and natural element to your indoor orchid display.
4. Dendrobium Orchid
Why Dendrobium is Great for Indoors: Dendrobium orchids are a diverse group of orchids that come in various shapes and sizes.
They are favored for indoor cultivation due to several factors:
Versatility: Dendrobiums encompass a wide range of species, some of which are well-suited for indoor conditions. They come in a variety of colors and sizes, offering options for different indoor spaces.
Moderate Light Needs: Most dendrobiums thrive in moderate indoor light, making them adaptable to various lighting conditions within your home or office.
Seasonal Blooms: Dendrobiums can provide seasonal bursts of colorful blooms, adding a dynamic element to your indoor orchid collection.
5. Cattleya Orchid
Why Cattleya is Great for Indoors: Cattleya orchids, often called “corsage orchids,” are known for their large and fragrant flowers.
They make excellent choices for indoor orchid enthusiasts due to these factors:
Showy Flowers: Cattleyas produce stunning, elegant flowers with a wide range of colors and patterns, making them a captivating addition to indoor decor.
Bright Light Requirement: Cattleyas thrive in bright, indirect light, which is often found near windows in indoor environments, making them suitable for homes and offices.
Fragrance: Many Cattleya varieties emit a delightful fragrance, adding a pleasant aroma to your indoor space when in bloom.
When choosing an orchid indoors, consider your available light conditions and care preferences for orchids to ensure the best match for your specific environment.
Common Issues with Indoor Orchids
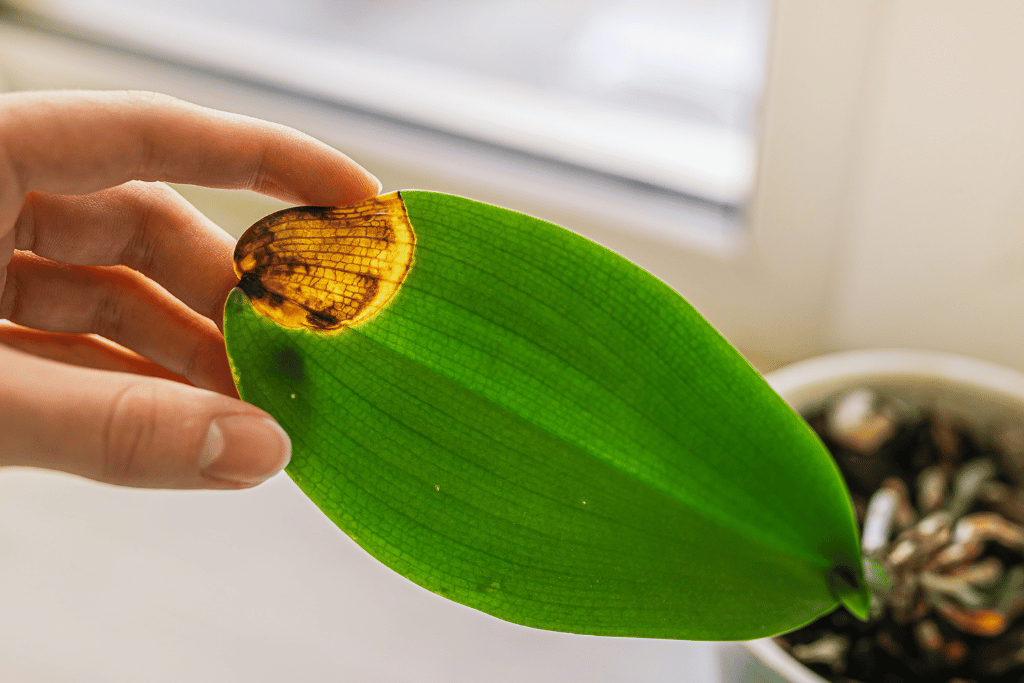
Growing orchids indoors can be a rewarding experience, but it’s not without its challenges. Orchids are sensitive plants, and various issues can arise due to environmental factors, pests, or diseases. Understanding these problems and knowing how to deal with them is crucial for maintaining healthy indoor orchids.
Environmental Problems
1. Too Much Light
- Symptoms:Orchids turn yellow-green or red when exposed to excessive light, eventually developing white and then brown spots.
- Solution:Provide shade promptly when symptoms appear. Transition orchids to new light levels gradually to prevent leaf scald.
2. Fertilizer Burn
- Symptoms: Brown or dead root and leaf tips, yellowing leaves, and salt buildup in the container.
- Solution: Water with plain water before fertilizing after thoroughly wetting the media. Regularly flush the media and repot with fresh media to reduce salt buildup.
3. Wrinkled or Leathery Leaves
- Symptoms: Wrinkled leaves, accordion-folded pleats, limp, and leathery leaves indicate insufficient water.
- Solution: Adjust watering frequency, ensuring the plants do not dry out for extended periods. Examine the root system, looking for healthy green or white roots, and repot if needed.
Insect Issues
4. Aphids
- Symptoms: Discoloration, distorted growth, and sticky honeydew on leaves.
- Prevention: Isolate infested plants and implement cleaning, soapy water, insecticidal soap, or Neem treatments.
5. Mites
- Symptoms: Mottled foliage, fine silk webbing in heavy infestations.
- Control: Maintain higher humidity levels and regularly wet or wash foliage to deter mites.
6. Scale and Mealybug
- Symptoms: Cottony masses with sticky honeydew indicate infestations.
- Control: Begin with cleaning using rubbing alcohol, followed by insecticides like Neem, horticultural oil, or insecticidal soap. Persistent treatment is essential.
7. Ants
- Behavior: Ants are attracted to honeydew produced by aphids, scale, or mealybugs and are often a sign of an underlying insect problem.
- Control: Address the primary insect issue, repotting, or using baits or traps to manage ants.
8. Cockroaches
- Behavior: Cockroaches can reside in orchid media, especially if plants spend time outdoors.
- Effects: They can damage growing points and flower buds, posing a health hazard.
- Control: Monitor for nocturnal cockroaches, maintain cleanliness, and consider repotting or using repellents, baits, sticky traps, or insecticides.
Disease Issues
9. Root Rot
- Symptoms: Decay and collapse of the plant or pseudobulb near the crown.
- Cause: Overwatering.
- Solution: Allow plants to dry out between waterings and repot if the media retains too much water.
10. Leaf Spots
- Phyllosticta Leaf Spot: Small, elongated black/purple spots along veins of leaves.
- Cause: Low light and wet conditions.
- Prevention: Ensure leaves do not stay wet overnight, remove affected leaves, and consider fungicides for severe cases.
- Black Rot: Caused by various fungi.
- Prevention: Avoid wetting leaves, maintain good air circulation, remove infected parts with a sterile knife, and apply fungicide to healthy portions.
Understanding and addressing these common problems will help you maintain thriving indoor orchids. Regular monitoring and timely intervention are key to keeping your orchids healthy and beautiful.
Final Words
So, that’s it folks. We hope this guide on how to care for an orchid indoors has provided you with the knowledge and resources to keep your orchid happy, healthy and blooming. Taking care of an orchid requires dedication – be sure to pay close attention to watering, humidity, temperature, fertilizing, grooming and repotting schedules. With these steps in mind, your orchids will give you many years of enjoyment. Best of luck!


