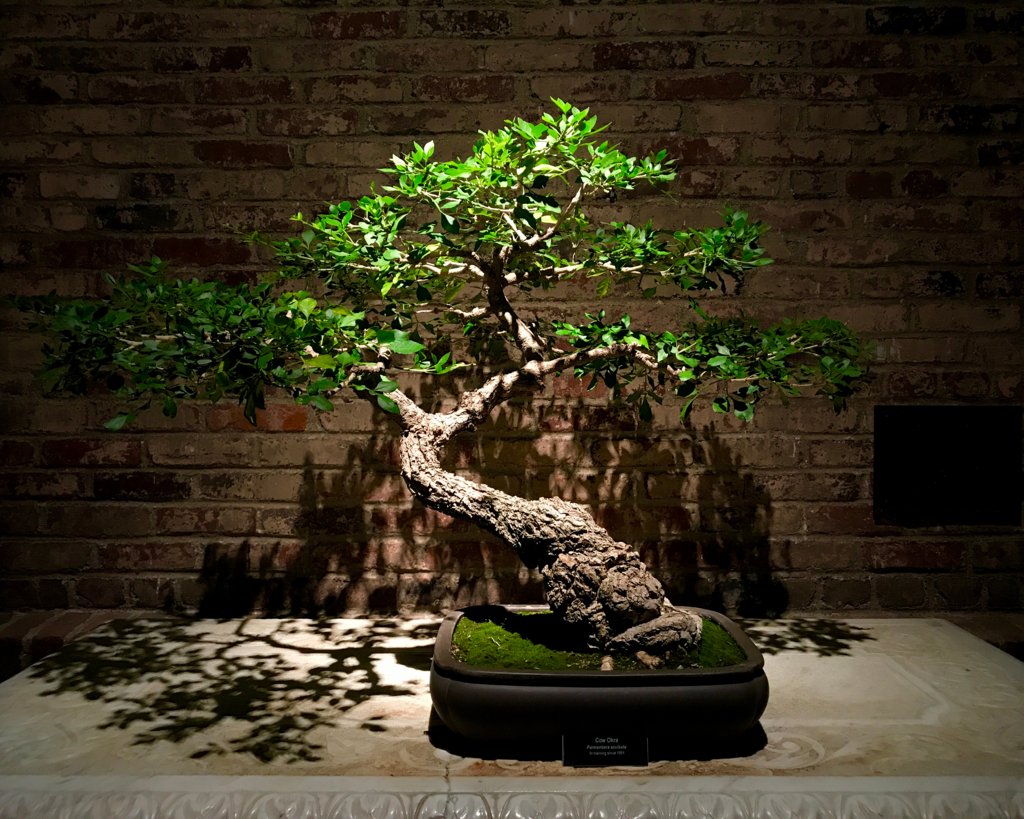
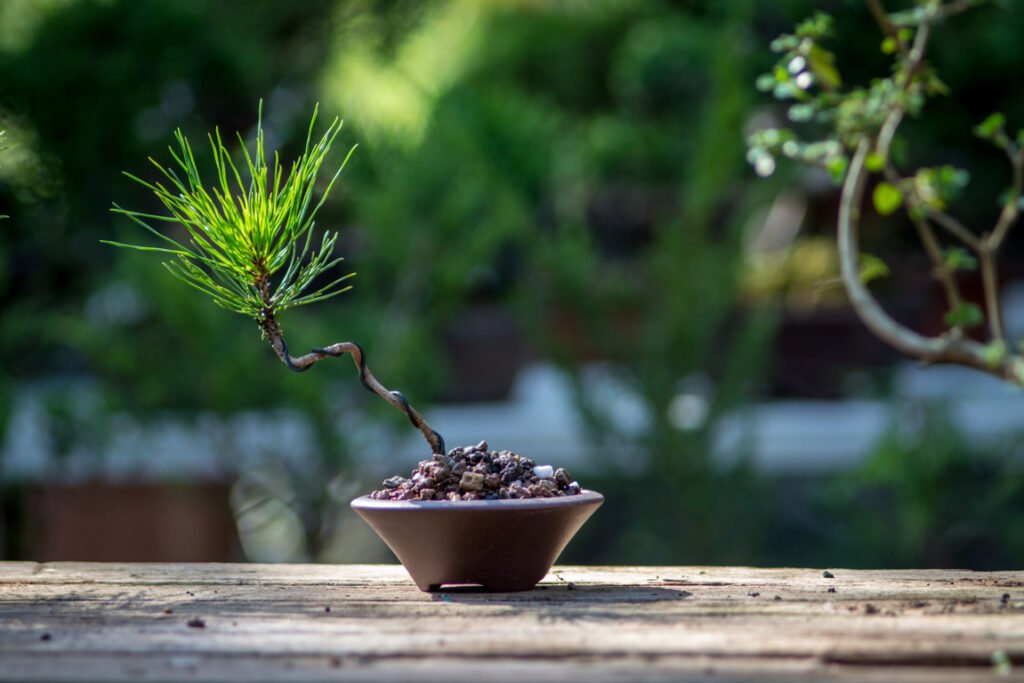
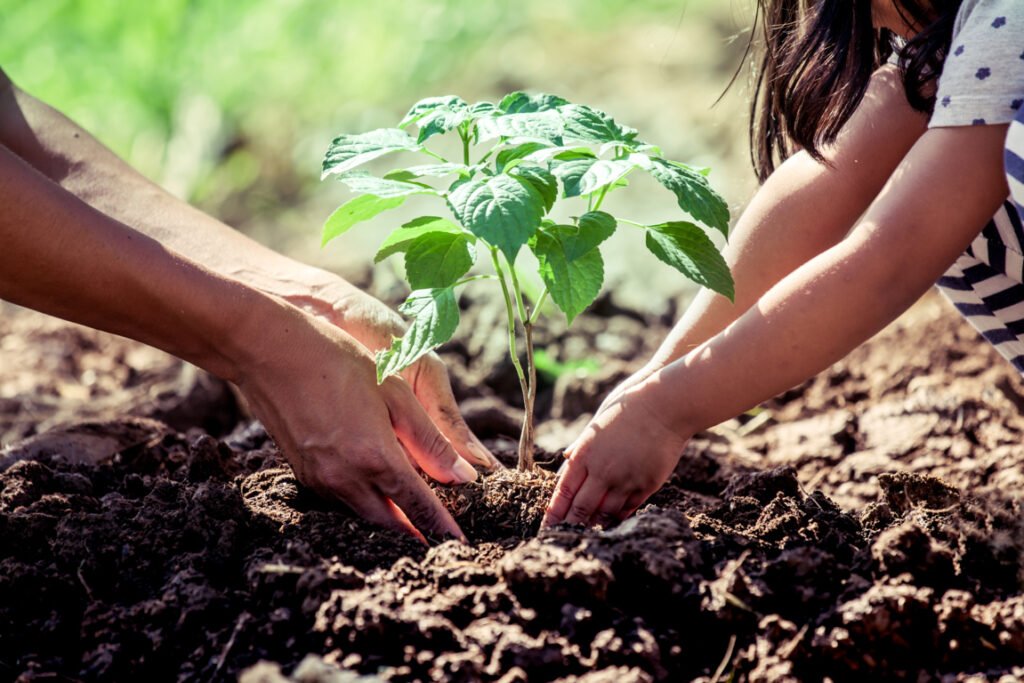
When you think of a bonsai tree, you likely imagine a scene from a film with bonsai trees in – a mighty juniper or pine tree worked on by a Japanese master. The truth is anyone can create a bonsai tree with enough knowledge, patience and effort. You might’ve seen a time-lapse of a bonsai tree growing from seed on platforms such as YouTube, but these can sometimes be entirely inaccurate and won’t reflect the amount of time and work it takes.

Of course – there are faster ways to create a bonsai tree than from seed. Many growers opt to take cuttings or air-layerings instead, which can get established much quicker and have a bit of thickness. However, some growers still like to cultivate bonsai from seed for several reasons:
Benefits of Growing Bonsai From Seed
- Twists and bends! When growing bonsai from seed, it’s much easier to get those twists and bends you see in older trees when the seedling is young. Trying to manipulate an older tree’s trunk will likely either result in a terrifying snap or a waste of wire – so it’s best to apply wire to the tree when it’s still malleable.
- Developing branches. Growing a bonsai tree from seed means that you have control over its development throughout its life instead of purchasing it from a nursery or an independent seller. This means that you can position the branches how you like and adapt them to what you think looks best instead of trying to ramify mistakes made by previous growers.
- Root spread. A significant factor of ‘how good’ a bonsai tree is when it gets older is its nebari (root spread). If you have a giant stick coming out of the ground with no root spread, it won’t look very appealing. This being said, when we grow bonsai from seed, we can better control the development of the nebari and position it in a way that will suit the future appearance of the tree!
- Satisfaction! A little bit less technical here – but the pleasure of growing a bonsai tree from seed is immense. Seeing your seedling progress into a beautiful bonsai tree over the course of a decade or so is a gratifying feeling, and it massively encourages growers to keep doing what they’re doing.
Now that we’ve discussed the benefits of growing bonsai from seed, let’s go over the general time-lapse of growing a bonsai tree from a seedling and how this can influence development in the tree.

Seedlings
‘Seedlings’ is a general term. However, this can also refer to cuttings. This stage usually lasts around 3-4 weeks after germination, and there isn’t much bonsai work to do in this stage. It’s best to let it grow as much as possible, allowing it to get established and develop a good root system.
It’s best not to rush straight into trying to develop seedlings into bonsai trees, as this can quickly kill the seedling and leave you with no material. Producing bonsai trees can take years, therefore requiring patience.
Young Seedling (1-3 months)
Around a month after germination, your seedling may have thrown out a few more leaves and started to establish a root system. It still isn’t the best time to start developing it into a bonsai tree, and you should let it grow. However, you can begin to think about what your plans are going to be when the tree gets older.
It’s essential to think of the style you want for the tree. You can adopt many different styles for a tree, such as a cascade style (my favorite!) or an informal upright, windswept or literati style. You should note that not all species can be made into a specific style very well and prefer others – for example, maples are slightly harder to develop into a cascade style, and I’ve only seen one done very well.
To get a general idea of a style you want for your seedling, why not look them up online? Search the species of your tree and add bonsai in front of it, and you’re likely to get quite a few good examples of specimen trees to gather inspiration from.
Older seedlings (4-6 months)
So it’s been a few months – you might be able to start a bit of work on your seedlings now! By now, they should have put on a bit more growth, with which you can begin to apply some wire or give them a very minimal amount of pruning.
If your seedling has thickened up a bit, you should be able to apply wire to it. It’s best to use annealed aluminum wire as it’s easy to work with and not as stiff as copper wire, making it more suited for seedlings. Be very gentle with the application of the wire, and make sure to use a low gauge, such as 1mm. Using too high of a gauge on a seedling will snap it or leave nasty wire marks, which can stay with the tree for a very long time.
Hopefully, your seedling has put on some vigorous growth. If it has, then it might be time to give it minimal pruning! You can cut it back a few centimeters to a previous bud to encourage back-budding or branching on your seedling. Make sure not to go wild on the seedling, and leave a very good amount intact.
Mature seedlings (7-12 months)
Although there’s no definition for a seedling around 7-12 months, keeping track in bonsai is essential. Around this time, your seedling might’ve gone through its first winter – hopefully, it’s survived!
If you applied wire a few months ago, it might be time to consider removing it. You should constantly check to see if the wire has bitten in, and as soon as it does, you should remove it with some wire cutters. In the growing season, the wire will bite in a lot quicker than in autumn or winter as the trunk is thickening.
By this time, you can start applying some fertilizer to your seedling. I’m not particularly eager to fertilize seedlings before seven months, as they have pretty sensitive roots that can burn them – leading to their death very quickly. Applying too much fertilizer to seedlings will also drive top growth instead of helping to develop their root system, which isn’t optimal.
You can use an application of organic or chemical fertilizer. I like to use chemical fertilizer in a diluted concentration around every 1-2 weeks for my seedlings in the growing season.
Young tree (1-2 years)
A sapling is defined as a tree 3 feet or higher in height, but, likely, your tree hasn’t reached this height within a year. After the first year of growing the seedling, it’s expected that you can begin a lot more work developing it as a bonsai.
In the growing season, you can start to prune your young tree more frequently, although it’s best to make sure not to be excessive with it and keep it to a minimum. Although, you should note that pruning is a good thing for trees. It helps to encourage back-budding and branching on them, keeping them healthy and ensuring light can get to all parts of the tree.
If your tree has grown very quickly (like some species do), it might be good to put another wire application on! Getting as many natural twists and bends into your young tree’s trunk will amazingly help it when it gets older. Likely, you won’t have to start wiring the branches yet, as they may still be thin, and you should focus on developing the trunk before the branches.
By this time, you can start regularly fertilizing it with undiluted concentrations. I like to fertilize every 7-10 days in the growing season – don’t fertilize when the tree is dormant! Feeding a tree when it is dormant is simply a waste of fertilizer. Instead, you should wait until about a week or two after the leaves have appeared again (if it’s deciduous) to start feeding it.

Watering
As your seedling gets to this stage, you’ll find that it’s likely going to require a lot more water in the growing season. It’s essential to keep up with the water demand of your trees when they get older. Otherwise, they’ll suffer, and growth might slow down.
With species such as azaleas, pomegranates or cherry trees – it’s best to use water that isn’t calcareous (hard). Instead, I like to use rainwater to water these instead, as using hard water can lead to deficiencies in these species.
Repotting
If you’ve repotted the seedling into its own pot and let it grow to this stage, it will likely require another repot soon enough. Letting a tree grow for more than 2-3 years in the same pot means it will likely get root-bound, meaning that it won’t be able to take up water as well, and growth may slow down.
To prevent this, you should repot your young tree sometime around spring. Some species prefer different times, so it’s important to research this yourself. To check if your tree needs repotting, a good sign is usually roots coming out of the drainage holes or roots circling themselves multiple times.
When working with young trees, it’s important not to take too much root off. To repot the tree, you should loosen it out of its pot and then take a minimal amount of soil off the root mass, trying not to disturb the roots as much as possible. If there are any particularly long roots, you can prune these as we want to encourage lateral roots for a nebari.
Saplings (3-4 years)
While it’s likely that you haven’t let your tree grow to above 3 feet in height, it most likely would have without pruning – so we’ll class it as a sapling for now.
At this stage, the trunk of the tree should have thickened somewhat. It’s likely, not big, but it’s better than a matchstick. If you have the space, I recommend planting the tree in the ground. This will thicken the trunk amazingly quickly compared to in a pot, allowing you to start developing it into a bonsai a lot earlier.
Most people are eager to create ‘instant bonsai’ – where they take a small tree, start pruning and hacking off branches and apply wire. This isn’t the best thing to do, and it’s a lot better to wait for the trunk to thicken unless you’re going for something like a shohin bonsai.

Watering
As with a young tree, saplings will likely have a higher water demand and require more water/fertilizer in the growing season. It’s best to keep the soil mix moist for your trees instead of soggy or dry, as this can kill the tree. I like to use a combination of akadama, chopped sphagnum moss, pumice or kanuma, depending on the tree.
When watering trees planted in inorganic mixes such as akadama, a little tip is to use a rose on your watering can or set your hose to a fine mist setting! I didn’t have a rose for my watering can, so when I first began bonsai, I found that the akadama was falling out of the pot – which was quite silly not to realize I should fix…
Repotting
Now that the tree is a bit older, it’s going to be able to tolerate more root pruning. I never like to take off more than 30-40% of the roots, although this depends on the species. Pines don’t like root pruning too much as they have mycorrhizal fungi needed to keep them alive.
You can prune off any vertical roots that are too thick while also applying a small amount of wire to lateral roots to position them how you want them.
Older Saplings (5-6 years)
By now, you’ve likely got some thickness to the tree. It might not be a lot, but if you’ve planted it in the ground, then it’s probably enough to start working with.
You can start developing the tree branches now, removing any that are too large and in the wrong position with branch cutters. Be careful to apply a wound sealant as well; otherwise, harmful pathogens or moisture can get into the cut, harming the tree.
When developing branches, you should take them back to a point where they fit the tree’s appearance. Don’t leave them too long; otherwise, they may appear too dominant and don’t cut them too short; otherwise, you’ll be left with a trunk. You can also apply wire to them, getting some twists in and developing secondary and tertiary branching.
The watering and repotting requirements will likely be the same – they won’t change much after this point. However, you should still pay attention to the soil’s moisture and any warning signs, such as the browning or yellowing of leaves or early leaf drop. Usually, these will tell you if you’re doing something wrong, such as underwatering, over-fertilizing, excessively pruning or a sign of infection.
Further Development
After this point, it’s best to keep doing what you’re doing and assess what you want for your tree. Have a clear style or idea of what you wish for it so that you can wire and develop it accordingly!
When your tree gets older, it’s best to start working on ramification, branch development and the nebari. Making sure that the tree has branches in the correct positions that make it look aesthetically pleasing is an integral part of bonsai, and refined, ramified branches can be fantastic in a winter silhouette.

Frequently Asked Questions (FAQ)
Is it easy to grow bonsai from seed?
I would say that growing bonsai from seed doesn’t really have a difficulty – it’s comparable to essentially any other method. Getting the seed to germinate can be difficult, depending on the species, but after that, it’s essentially the same as taking care of any other tree. Some species might have different requirements, such as being pruned much earlier. I like to grow bonsai from cuttings as this is the easiest method for me, and I can do it in large quantities!
Why do I need to put my seeds in the fridge?
It may sound unusual initially, but seeds require a ‘stratification’ period. This refers to giving them a cold period which mimics winter in nature, increasing their chance of germination. Without this, many species would take months or even years to germinate. Some species may not require stratification, though, such as wisteria. Some may also require scarification, which refers to damaging the seed’s outer layer to encourage germination. This can be done by rubbing it with something such as sandpaper.
What is the fastest bonsai tree to grow?
From seed, you’ll find that they seem to grow relatively slowly for their first year but then start to pick up pace in their second year. Some of the species that quickly put on the most growth are alders, beech and willow trees. I have an alder tree which has grown incredibly fast, although it is planted in the ground. Species such as willow can be hard to use for bonsai due to their weeping nature, but with a bit of effort, you might be able to create something good out of them.
What are bonsai seeds?
They don’t exist! Many people might be surprised to know that ‘bonsai seeds’ are not a thing. Any tree seed can be germinated and developed into a bonsai with suitable characteristics, such as a small leaf size or tolerance for root pruning. Many sellers will advertise these bonsai seeds with ‘rare’ colors, such as blue or purple leaves, which are fake. Don’t fall for this; instead, purchase from reputable sellers. I fell for this trick when I first started bonsai as well!


